
Creating a New Event or Pass
From the Box Office, create a ticketed event, an event pass covering many events, or a tiered membership program — pick a type and set it up.
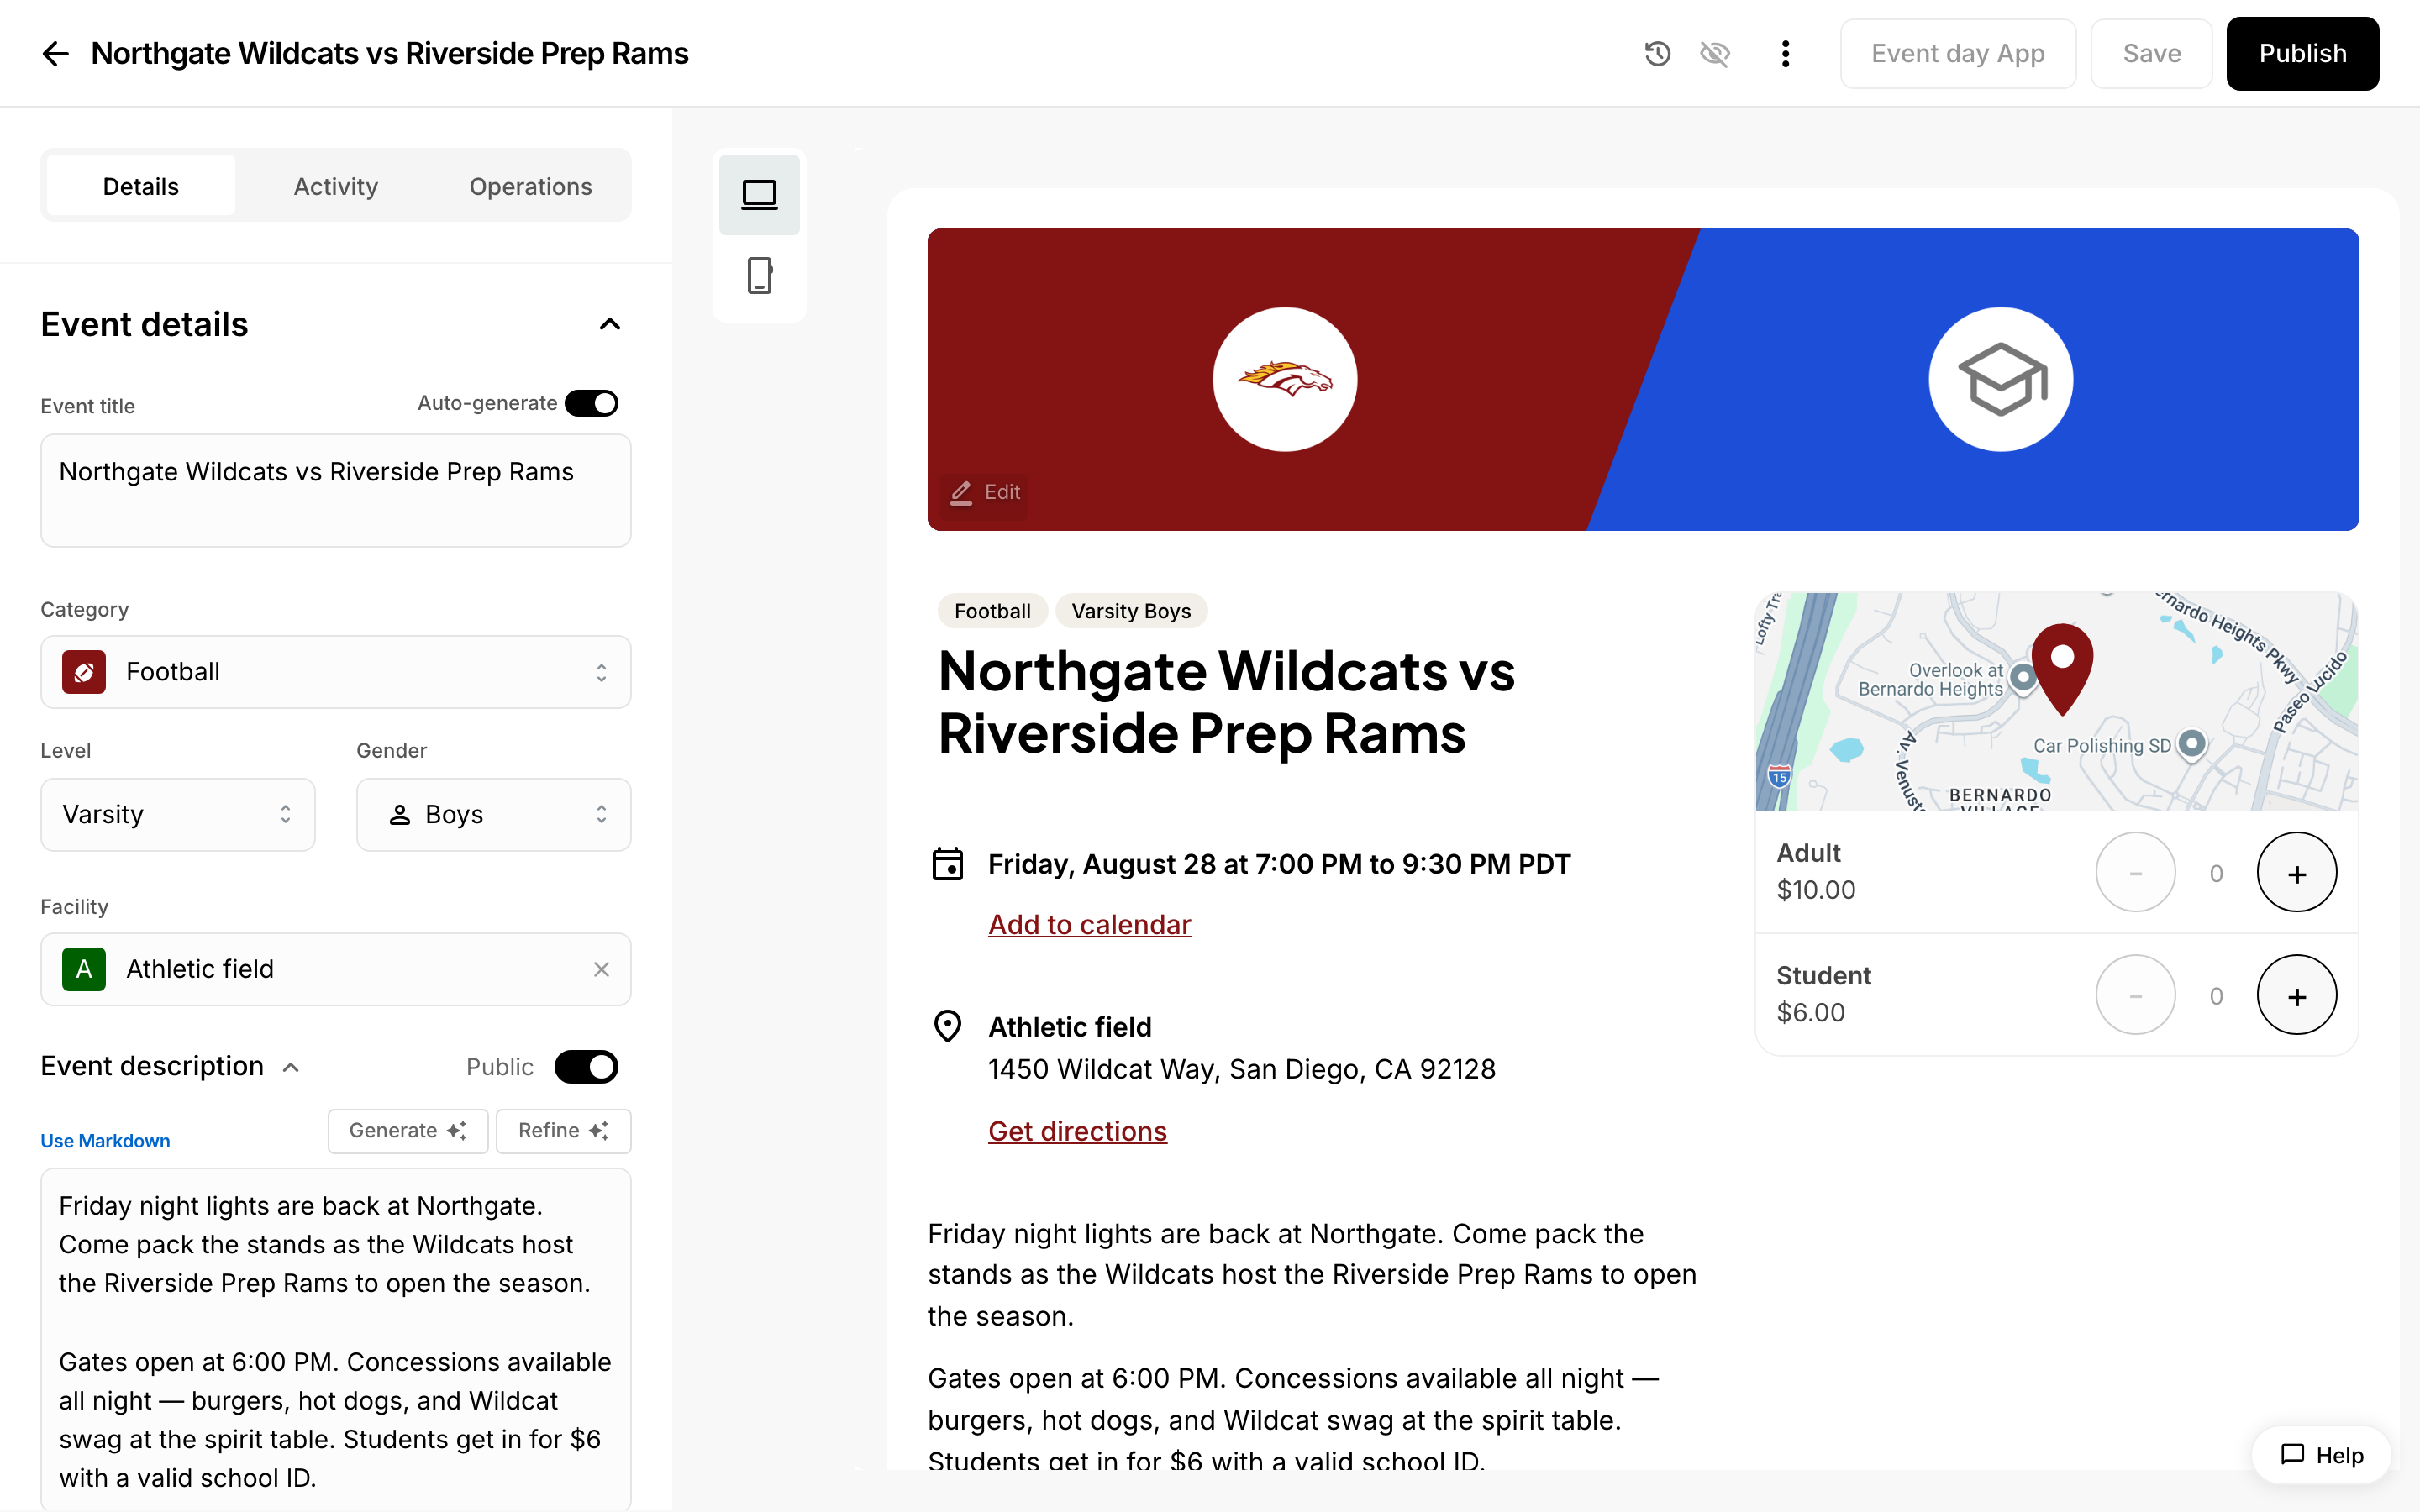 The event editor, where you build a ticketed event.
Creating a New Event or Pass
The Box Office is where you create the things people buy: a ticketed event for a single occasion, an event pass that admits its holder to many events, or a membership or booster program with multiple giving tiers. Open the create menu, choose the type you want, and Admittee walks you through a short setup form before dropping you into the full editor.
What can you create from the Box Office?
You can create three things, depending on what you're selling:
- Ticketed event — A single occasion that sells tickets, such as a game, dance, concert, or fundraiser night. This is the right choice when people are buying admission to one specific event. For a step-by-step walkthrough, see Creating your first event.
- Event pass — One purchase that admits its holder to a whole set of events rather than just one. You choose which event categories the pass covers and the window of time it's valid for. When you set it up, you can make it a standard event pass (good for one entry per event) or a flex pass (a fixed number of credits the holder spends across visits). Passes are ideal for season packages and all-sports or all-arts access.
- Membership or booster program — A tiered program for supporters, such as boosters, patrons, or sponsors. Each tier can carry its own name, price, and perks, so you can offer several levels of support under one program. Learn how to build one in Creating a membership program.
How do you start creating one?
From the Box Office, open the create menu and pick the type you want to make:
- Ticketed event opens a quick form for the event's title, category, and date and time. If you leave the title blank for a competitive category, Admittee can generate one for you, and you can add opponent, level, and gender details or mark the event as an away game. From there you continue into the event editor to set pricing and options.
- Event pass opens a short form for the pass title, the event categories it covers, an optional availability window, and whether it's a standard or flex pass. You then continue into the pass editor to finish the details.
- Membership opens a form for the program name and the date sales open. Once you create it, you build out the individual tiers in the membership editor.
Each type starts with just enough to get going — you fill in the rest in the editor, where nothing goes live until you publish.
Where do you go next?
Once you know what you're creating, these guides go deeper:
- New to Admittee? Start with Creating your first event for a full walkthrough of a ticketed event.
- Setting up supporter tiers? See Creating a membership program.
- Deciding what to charge? Review Tips for pricing and managing tickets.