
Creating Your First Event
Create your first ticketed event from the Box office: fill in a short form, then add ticket types and publish.
By the end of this article you will have a ticketed event set up in Admittee — a game, concert, or dance that people can buy tickets for online — and you will know how to publish it so those tickets go on sale. Do this any time you have a new event on the calendar that needs paid or free admission.
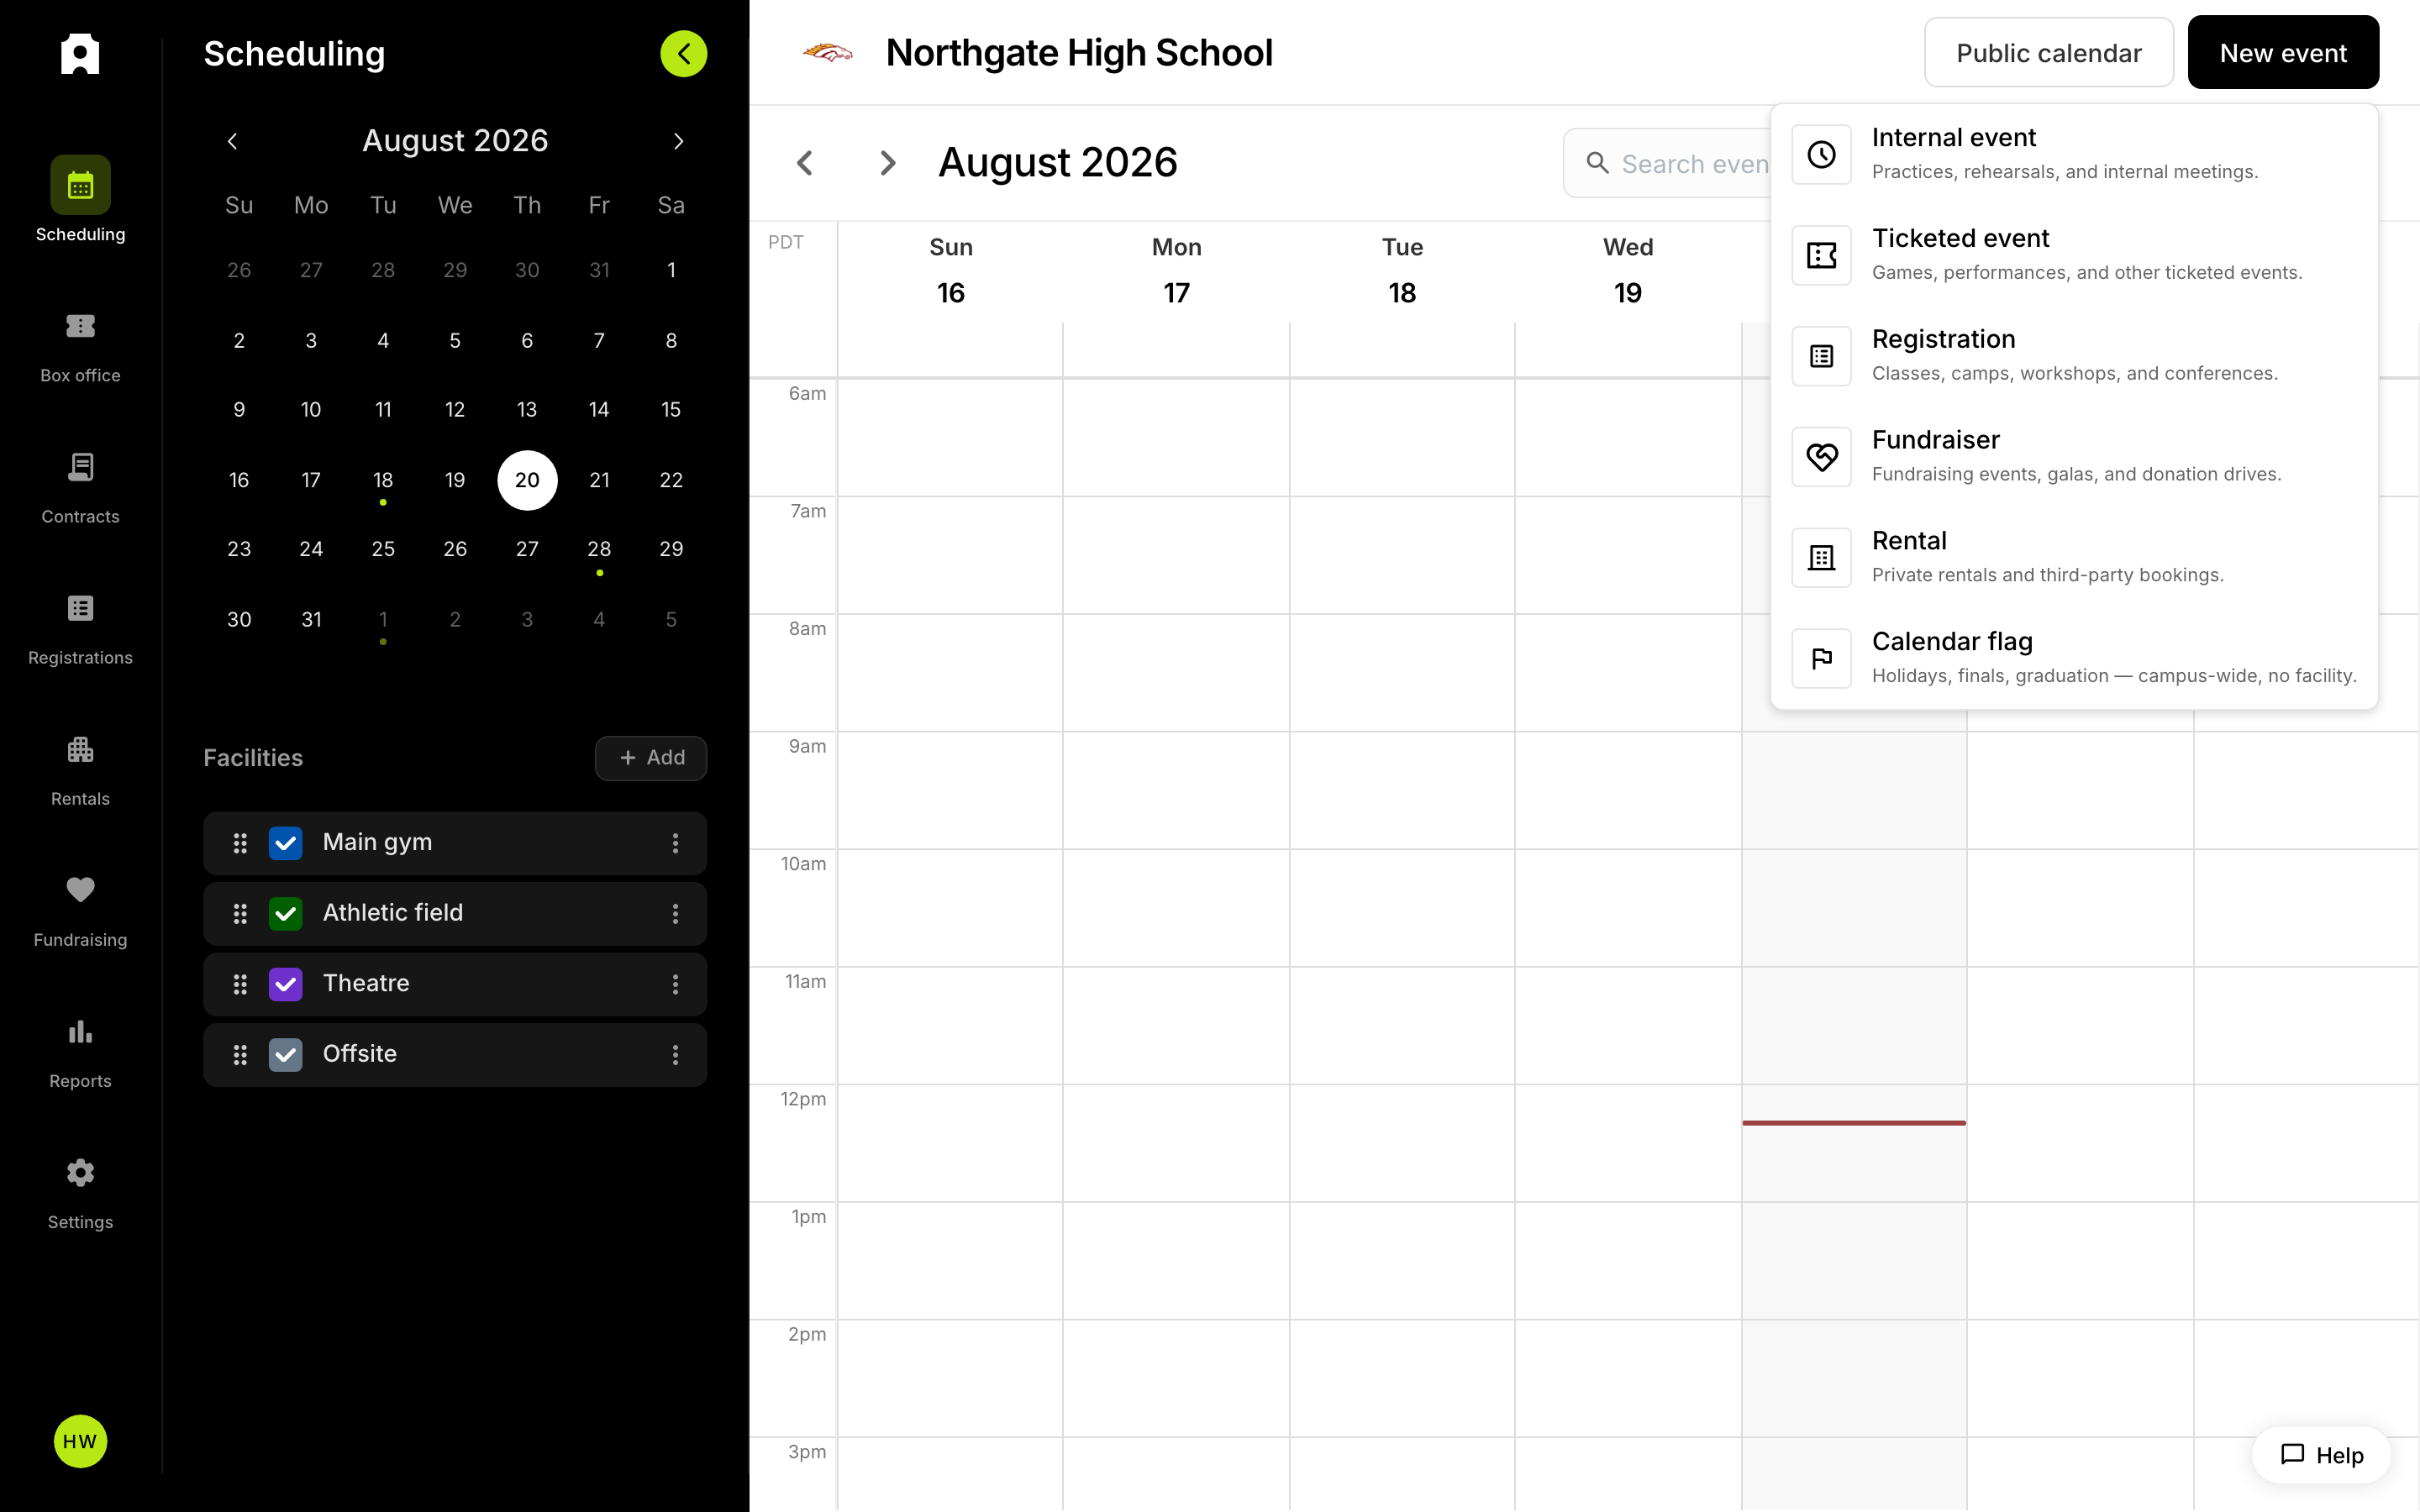 Open the New event menu and choose a type.
The whole flow is short: open the Box office, fill in a small form, then finish the details on the event's own setup page.
Start a new event
- In the left sidebar of your dashboard, click Box office.
- Click the New event button in the top-right corner of the page.
- From the menu that appears, choose Ticketed event.
The Ticketed event form opens.
You will also see Event pass, Membership, and Import in that menu. Those are for other things — a pass, for example, is one ticket that admits someone to several events — and they are covered in their own guides. For a single event, Ticketed event is what you want.
Fill in the basics
The form asks for only a few things:
- Title — optional. If you leave it blank, Admittee writes a title for you from the category, opponent, and other details you choose. The field itself says Leave blank to auto-generate.
- Facility — optional. A facility is the place the event happens, such as your main gym or auditorium.
- Category — required. Pick the kind of event, for example Baseball, Basketball, Football, Performing Arts, School Dance, or Other. If none of them fit, you can add your own category from this list.
- Date, Start time, and End time — already filled in with tomorrow's date and a 1:00 PM – 2:30 PM slot. Change them to match your event.
Add game details for a sports event
If you pick a sport category, the form grows to include a few more fields:
- Opponent — the visiting team or school.
- Level — for example Varsity, Junior Varsity or Freshman.
- Gender — Boys, Girls or Coed.
- Away game — check this box if your team is playing at the other school.
These details also feed the auto-generated title, so filling them in gives the event a clear, consistent name without typing one yourself.
Create the event and set up tickets
- Click Create. Admittee opens the event's full setup page.
- Under Event details, refine the title, category, facility, and description if you want to.
- Check the schedule under Date & time.
- Under Ticket types, add each kind of ticket you want to sell, with a label and a price — for example General and Student.
- Optionally add forms, sponsors, promo codes, or a linked fundraiser.
- Click Save to keep your changes.
Publish the event
A new event starts out unpublished, which means nobody outside your organization can see it or buy a ticket. Nothing you do on the setup page is visible to buyers until you publish.
When the details and prices look right, click Publish. The event becomes available to ticket buyers.
What if the Create button is grayed out?
The Create button stays grayed out until you have picked a Category. That is the only required field on this first form, so if you cannot click Create, check the category.
What if Admittee won't let me publish?
Publishing needs four things in place:
- A title — either one you typed or one Admittee generated from your category and game details.
- A start time.
- At least one ticket type.
- A price on every ticket type.
A price of 0 is fine — that is a deliberately free ticket. What blocks publishing is a ticket type whose price was never filled in at all, because selling it would charge nothing by accident. Fill in the missing piece, save, and try Publish again.
What if the game is at our opponent's school?
Check Away game on the form. Away events can be published without any ticket types, because you are not selling admission at the gate — the host school is. You still get the event on your calendar with its title and schedule.
What if ticket types are already filled in for me?
That is expected. If someone at your organization has set up default ticket types, Admittee copies the set that best matches your event's category, level, and gender onto the new event. For example, an Athletics event can open with General and Student tickets already priced.
They are only a starting point. Edit the labels and prices, or delete the ones you do not need, before you publish.
What if the event happens every week?
The create form includes a repeating option, so you can set up a series instead of building the same event over and over. A series has to fall inside a maximum length — if you set an end date too far out, Admittee tells you the range is too long and you can shorten it.
What if my save says it needs approval?
Some accounts can build an event but not put it live on their own. If your role works that way, saving marks the event as requested and sends it to someone with approval rights at your organization. They review it and approve it, and that is when it can go live. If you cannot find the New event button at all, your account may not have permission to create events — ask an admin at your organization to give you access or to create the event for you.