
Tips for a Smooth First Event
Publish rather than just save, switch to live mode so real tickets sell, price types carefully, share the link, and do a practice scan first.
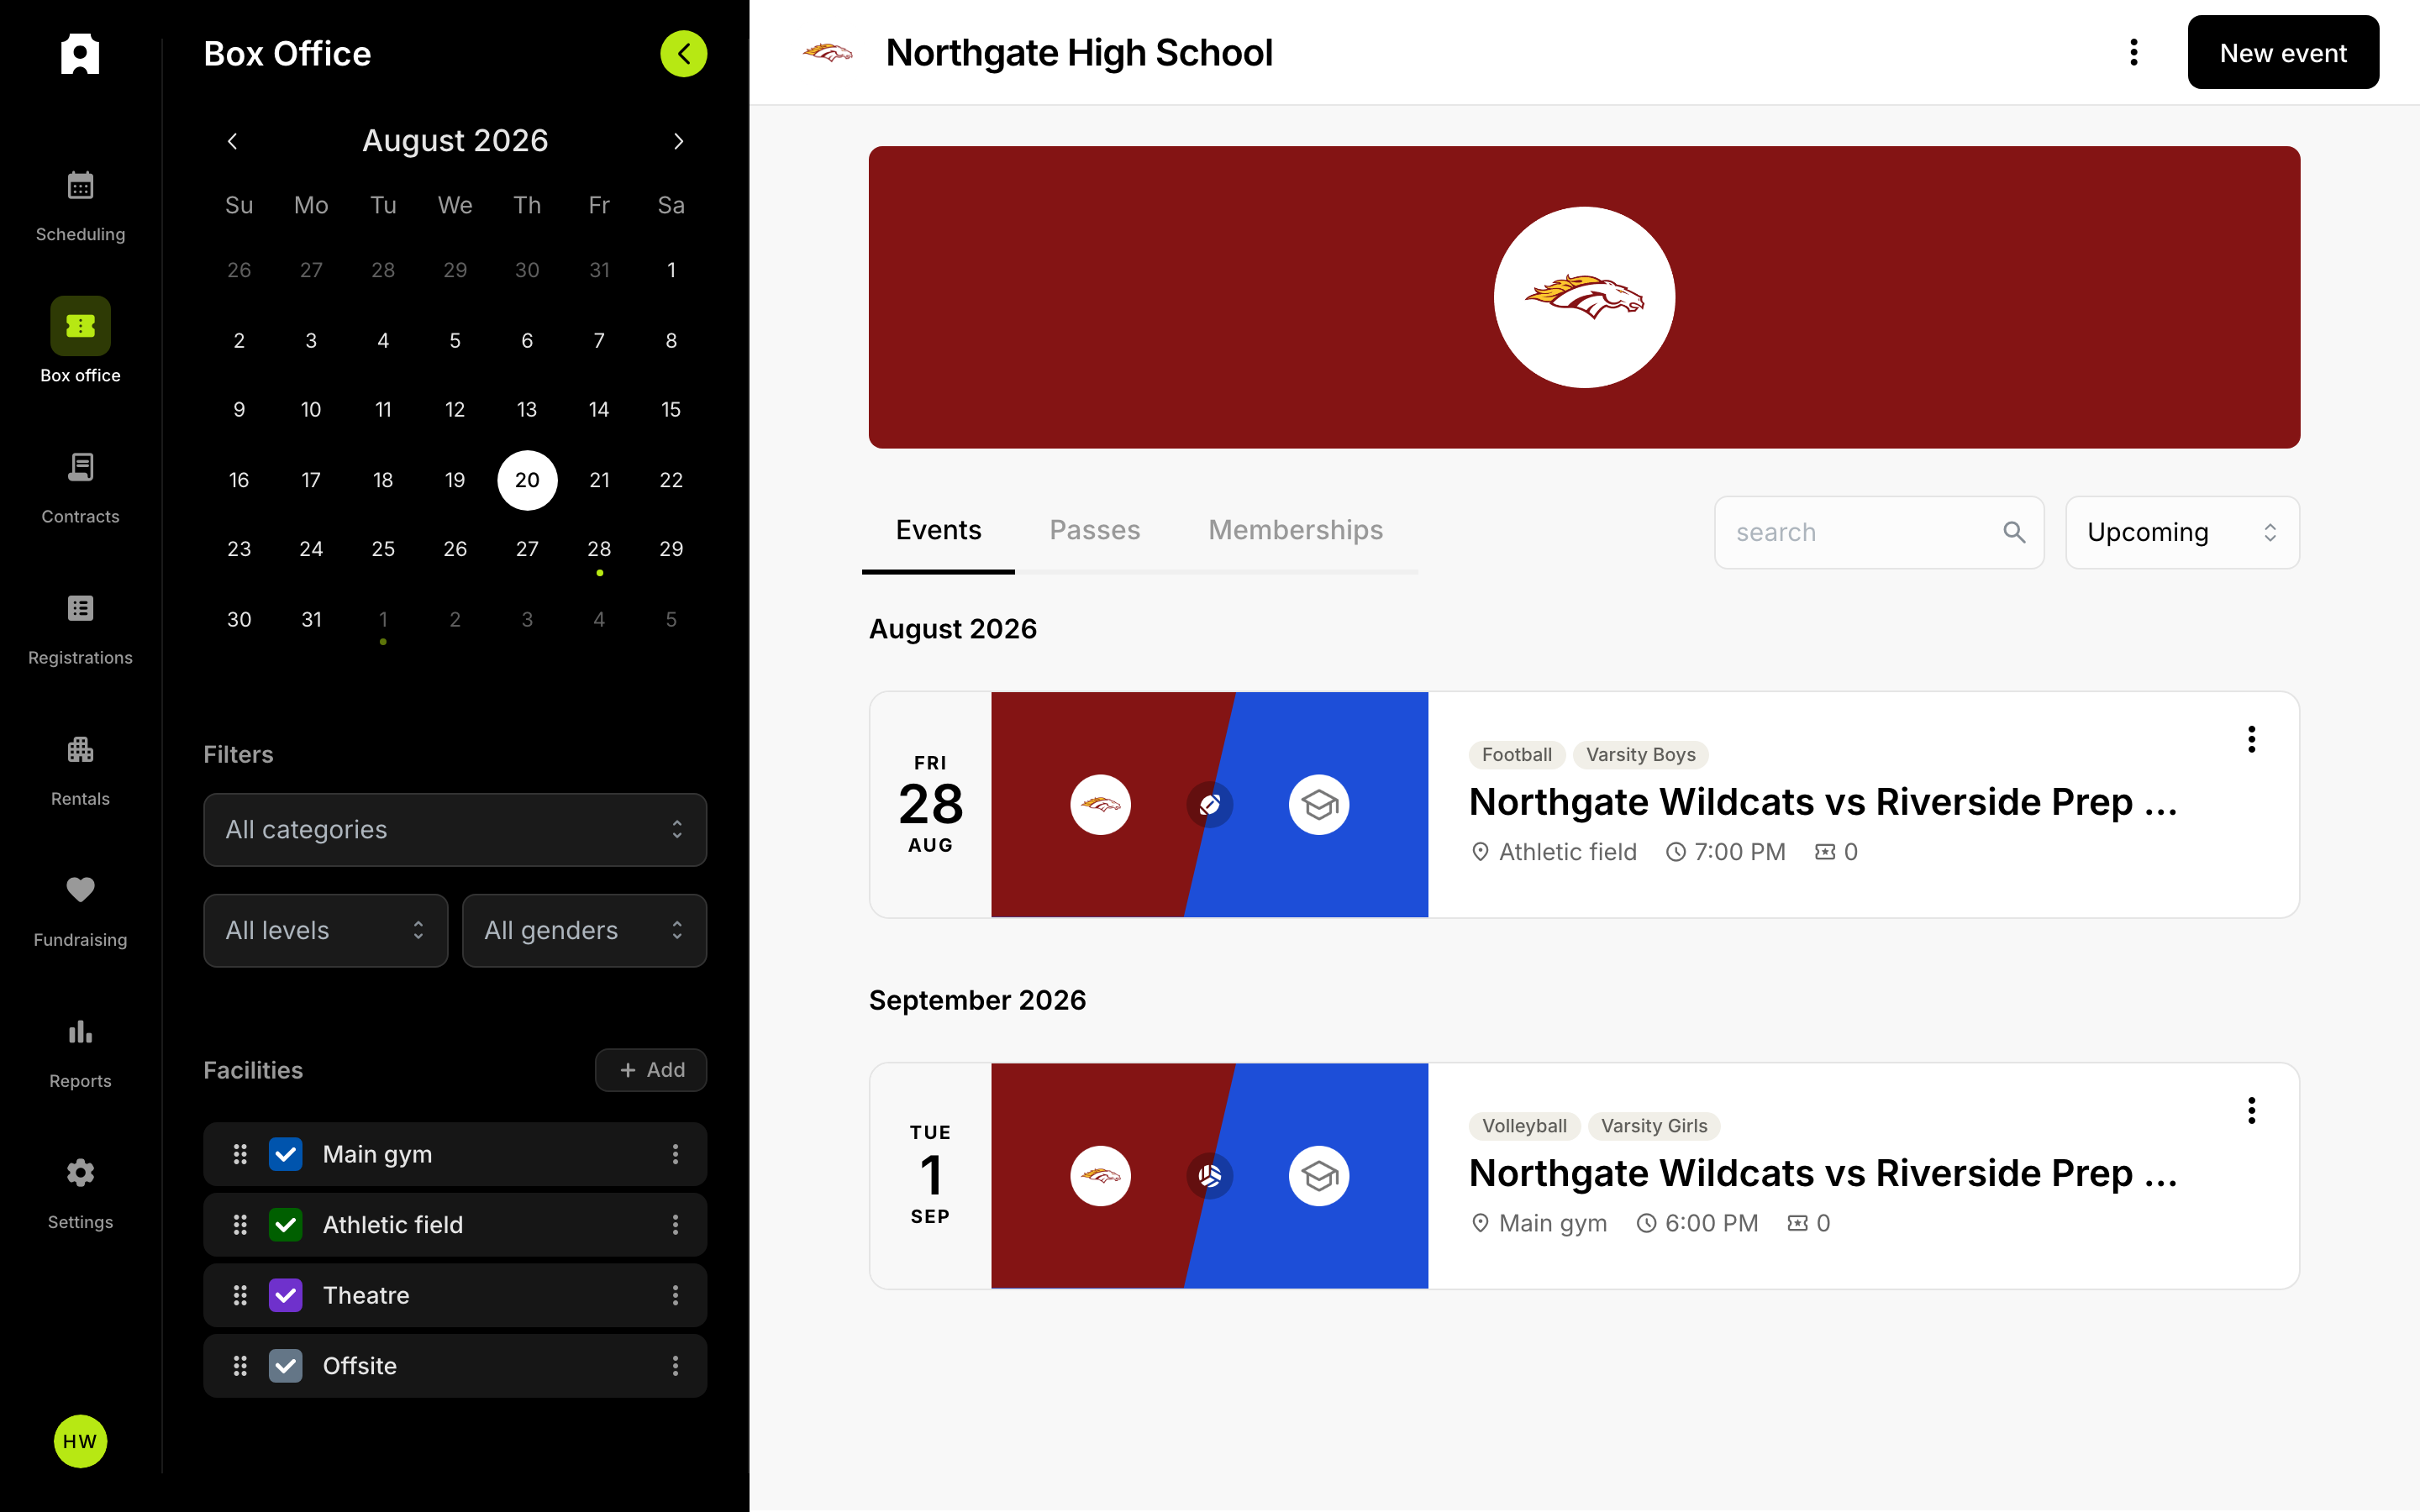 Publish your event, then share its public link.
Tips for a Smooth First Event
Once your event is created, a few habits make your first ticketed event go smoothly: publish the event when it's ready (a saved draft doesn't sell tickets), make sure your dashboard is in live mode so real tickets are issued, set your ticket prices carefully, share the public link, and run a practice scan before doors open. These tips assume you've already created the event — creating one is covered separately.
Should I save as a draft or publish?
New events start as a draft. A draft is saved and editable, but it is not visible to the public and does not sell tickets. When everything looks right, select Publish to put the event and its tickets live. After an event is published, the same button changes to Share so you can hand out the link.
Tip: while the event is still a draft, use the Preview tab to see exactly what attendees will see before you commit to publishing.
What's the difference between test mode and live mode?
Admittee runs in two modes, and your dashboard shows which one you're in with a small Live mode or Test mode label:
- Test mode lets you trial the buying experience without charging a real card or issuing a real ticket. It's the safe place to click through your own event and confirm the flow.
- Live mode is the only mode that processes real payments and issues real, scannable tickets.
Before you open sales to the public, confirm you're in live mode. A common first-event mistake is running a "successful" purchase in test mode and assuming real tickets are selling.
How should I set up ticket types and prices?
Take a minute on your ticket types before publishing:
- Give each ticket type a clear, public-facing name (for example, "General Admission," "Student," "Presale").
- Double-check every price. A ticket type left at $0 will sell as a free ticket.
- Only create the ticket types you actually need for this event — fewer, clearer options make checkout faster for buyers.
How do I share my event with attendees?
After you publish, use the Share action to get the public event link. Share that link wherever your audience already is — your website, social posts, email, and printed flyers with a QR code. Anyone with the link can buy tickets; they don't need an account first.
Should I test my scanning setup before doors open?
Yes. Don't let your first-ever scan happen with a line of people waiting.
- On the event's Preview tab, there's a Ticket demo with a sample ticket QR code. Point your scanner at it to confirm scanning works end to end.
- Set up your gate scanning ahead of time using the Scan & collect tools (the EventDay App). From there you can download the app, and copy or share the staff access link (or its QR code) so anyone helping at the gate can scan tickets and accept payments on their own phone.
Doing one practice scan the day before removes almost all day-of surprises.
Can attendees save tickets to their phones?
Yes. Every ticket page includes Add to Apple Wallet and Add to Google Wallet buttons, so attendees can save their tickets straight to their phone for fast, offline access at the gate. Encourage buyers to add their ticket to their wallet as soon as they purchase — it speeds up entry and means they aren't digging through email at the door.