
Setting Up Facility Rentals
Turn on the spaces your organization rents out, set an hourly rate for each kind of renter, and choose what renters sign.
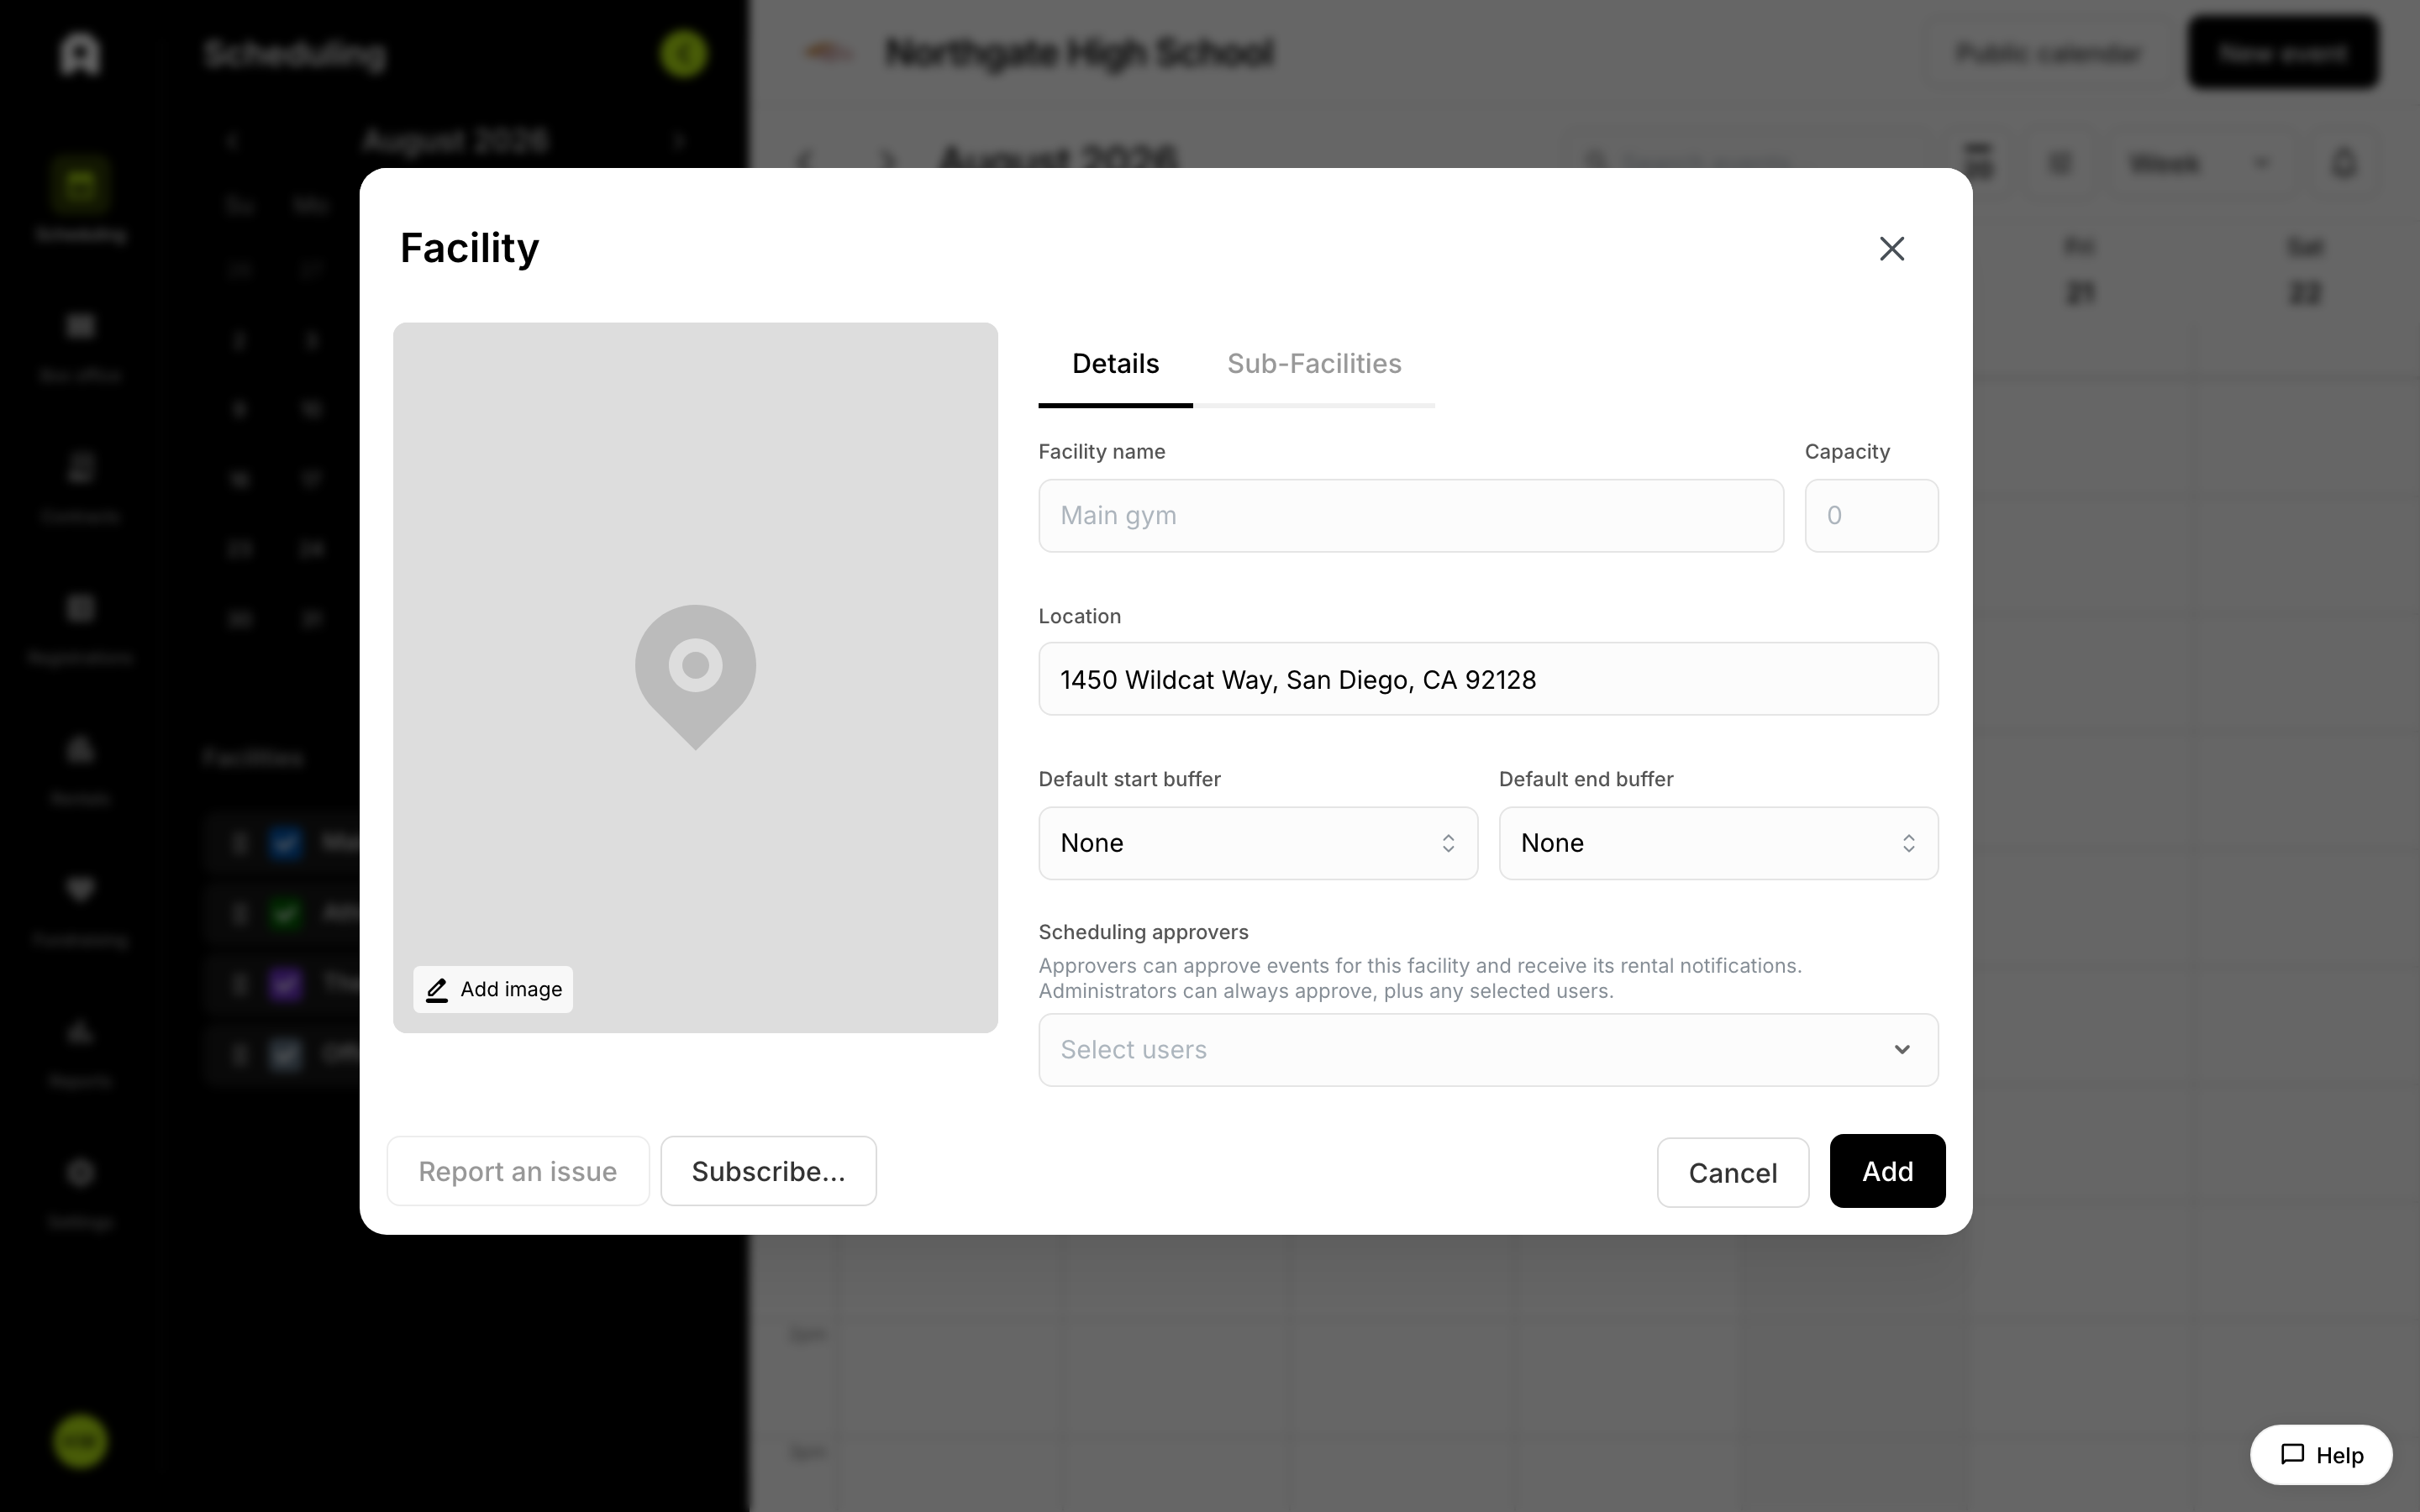 Rental rates and rules on a facility.
If your organization charges outside groups to use a gym, field, or meeting room, this article gets you from nothing to a bookable space. By the end you will have chosen which facilities can be rented, set an hourly price for each kind of renter, set how much money is collected up front, and decided what renters have to sign. Do this once, before your first renter books.
Two words are used throughout:
- A facility is a space you own — a gym, a field, a cafeteria. A sub-facility is a piece of that space you can rent on its own, such as one court or one half of a field.
- A rental class is a type of renter, such as "Internal department," "Community non-profit," or "Commercial." Rental classes are how you charge different groups different prices for the same room.
Almost everything below happens in one place: the Manage rental settings window, opened from the Rentals area of your settings.
Choose which facilities can be rented
A facility is only bookable once you have added it to your rentable list and left it switched on.
- Open Manage rental settings. You will see a Default deposit field at the top and a table titled Hourly rates by facility and organization type.
- Click the add button at the right of that table heading. A short menu opens listing the facilities you have not added yet.
- Click a facility in the menu. It is added to the table as its own row and is switched on for renting right away.
- If the facility has sub-facilities, click the row to expand it. Each court, room, or field appears underneath as its own row.
- Switch Rentable off for any row you do not want rented. The row stays in your list but is greyed out, so renters cannot book it.
- Click Save.
Each row also has a menu. Use it to open that facility's availability settings, or to remove the facility from your rentable list entirely.
What if the facility I want isn't in the add menu?
The add menu only lists facilities you have not added yet, so a missing facility is almost always one that is already in the table — scroll the table and check. If the add button itself is greyed out and cannot be clicked, every facility you have is already in the list.
If the space genuinely does not exist yet, create it as a facility first, then come back and add it here.
Set your rental classes
Rental classes become the columns of the rate table, so set these up before you start typing prices.
- From Manage rental settings, open the rate types settings. The screen is titled Rate types and has a back arrow at the top left.
- Add a class for each kind of renter you charge differently. Rename, reorder, or delete classes here as well.
- Mark a class as requiring insurance if renters of that type must carry their own coverage.
- Click Save. You are returned to the main rental settings screen, and your classes now appear as columns in the rate table.
Enter your hourly rates
- Find the facility or sub-facility row in the rate table.
- Click the box in the column for a rental class and type the hourly price. Prices are entered in whole dollars — the box shows a
$and a hint like100/hr. - Repeat for every combination of space and rental class you want to charge for.
- Click Save.
What happens if I leave a rate box blank?
A blank box means no rate has been set for that space and that class. Fill in every combination you actually rent out, so a renter in that class is never looking at a space with no price attached.
Set the default deposit
The deposit is the share of the total you collect up front, entered as a percentage of the rental's total rather than a fixed dollar amount.
- At the top of Manage rental settings, find Default deposit.
- Type a whole number between 0 and 100. The field will not accept anything outside that range.
- Click Save.
This percentage is applied to every new rental as its starting deposit, and whoever is handling a particular rental can change it on that rental. The field is never blank — if you have not set your own value, it shows Admittee's built-in default. (This article does not confirm what that built-in number is; check the field itself to see what your rentals will use.)
Choose what renters sign
The agreement renters sign is set up separately, in the Rental agreement accordion on the Rentals settings tab. To go straight there, open the page menu on the Rentals tab and choose Rental agreement.
What you set here is shared by all of your facilities — one agreement that every renter signs. There are two modes, and you pick one:
- Rules list — a numbered set of rules written directly in Admittee. Click Add default rules to start from a standard set, then edit them or add your own. If you leave the list empty, Admittee warns you that renters would have nothing to agree to.
- Uploaded PDF — your own Facility Use Agreement document, uploaded as a file.
Switching between the two modes does not throw anything away. The mode you are not using stays on file, unused, and whichever one is active is the one renters sign.
Does editing the agreement change rentals that were already signed?
No. Whatever a renter signed is kept with that rental as a fixed copy. Editing your rules or replacing your uploaded PDF later changes what future renters sign and leaves already-signed rentals exactly as they were.
What if I need to take a space offline for a season?
Switch its Rentable toggle off instead of removing it. The row stays in your table with its rates intact and is simply greyed out, so renters cannot book it. Switch it back on when the space is available again.
Removing a facility from the list also stops it being booked, but it disappears from the table and you have to add it back from the add menu later.
What renters see
Once a facility is in your rentable list and switched on, it appears on your public booking page at the rate matching the renter's class. When a rental is created it starts as a draft and moves through the agreement steps — sent to the renter, then signed — before it is confirmed. The deposit is worked out from your default percentage.