
Collecting Info with Intake Forms
Add a form to a registration so sign-ups answer your questions, then review or download every answer.
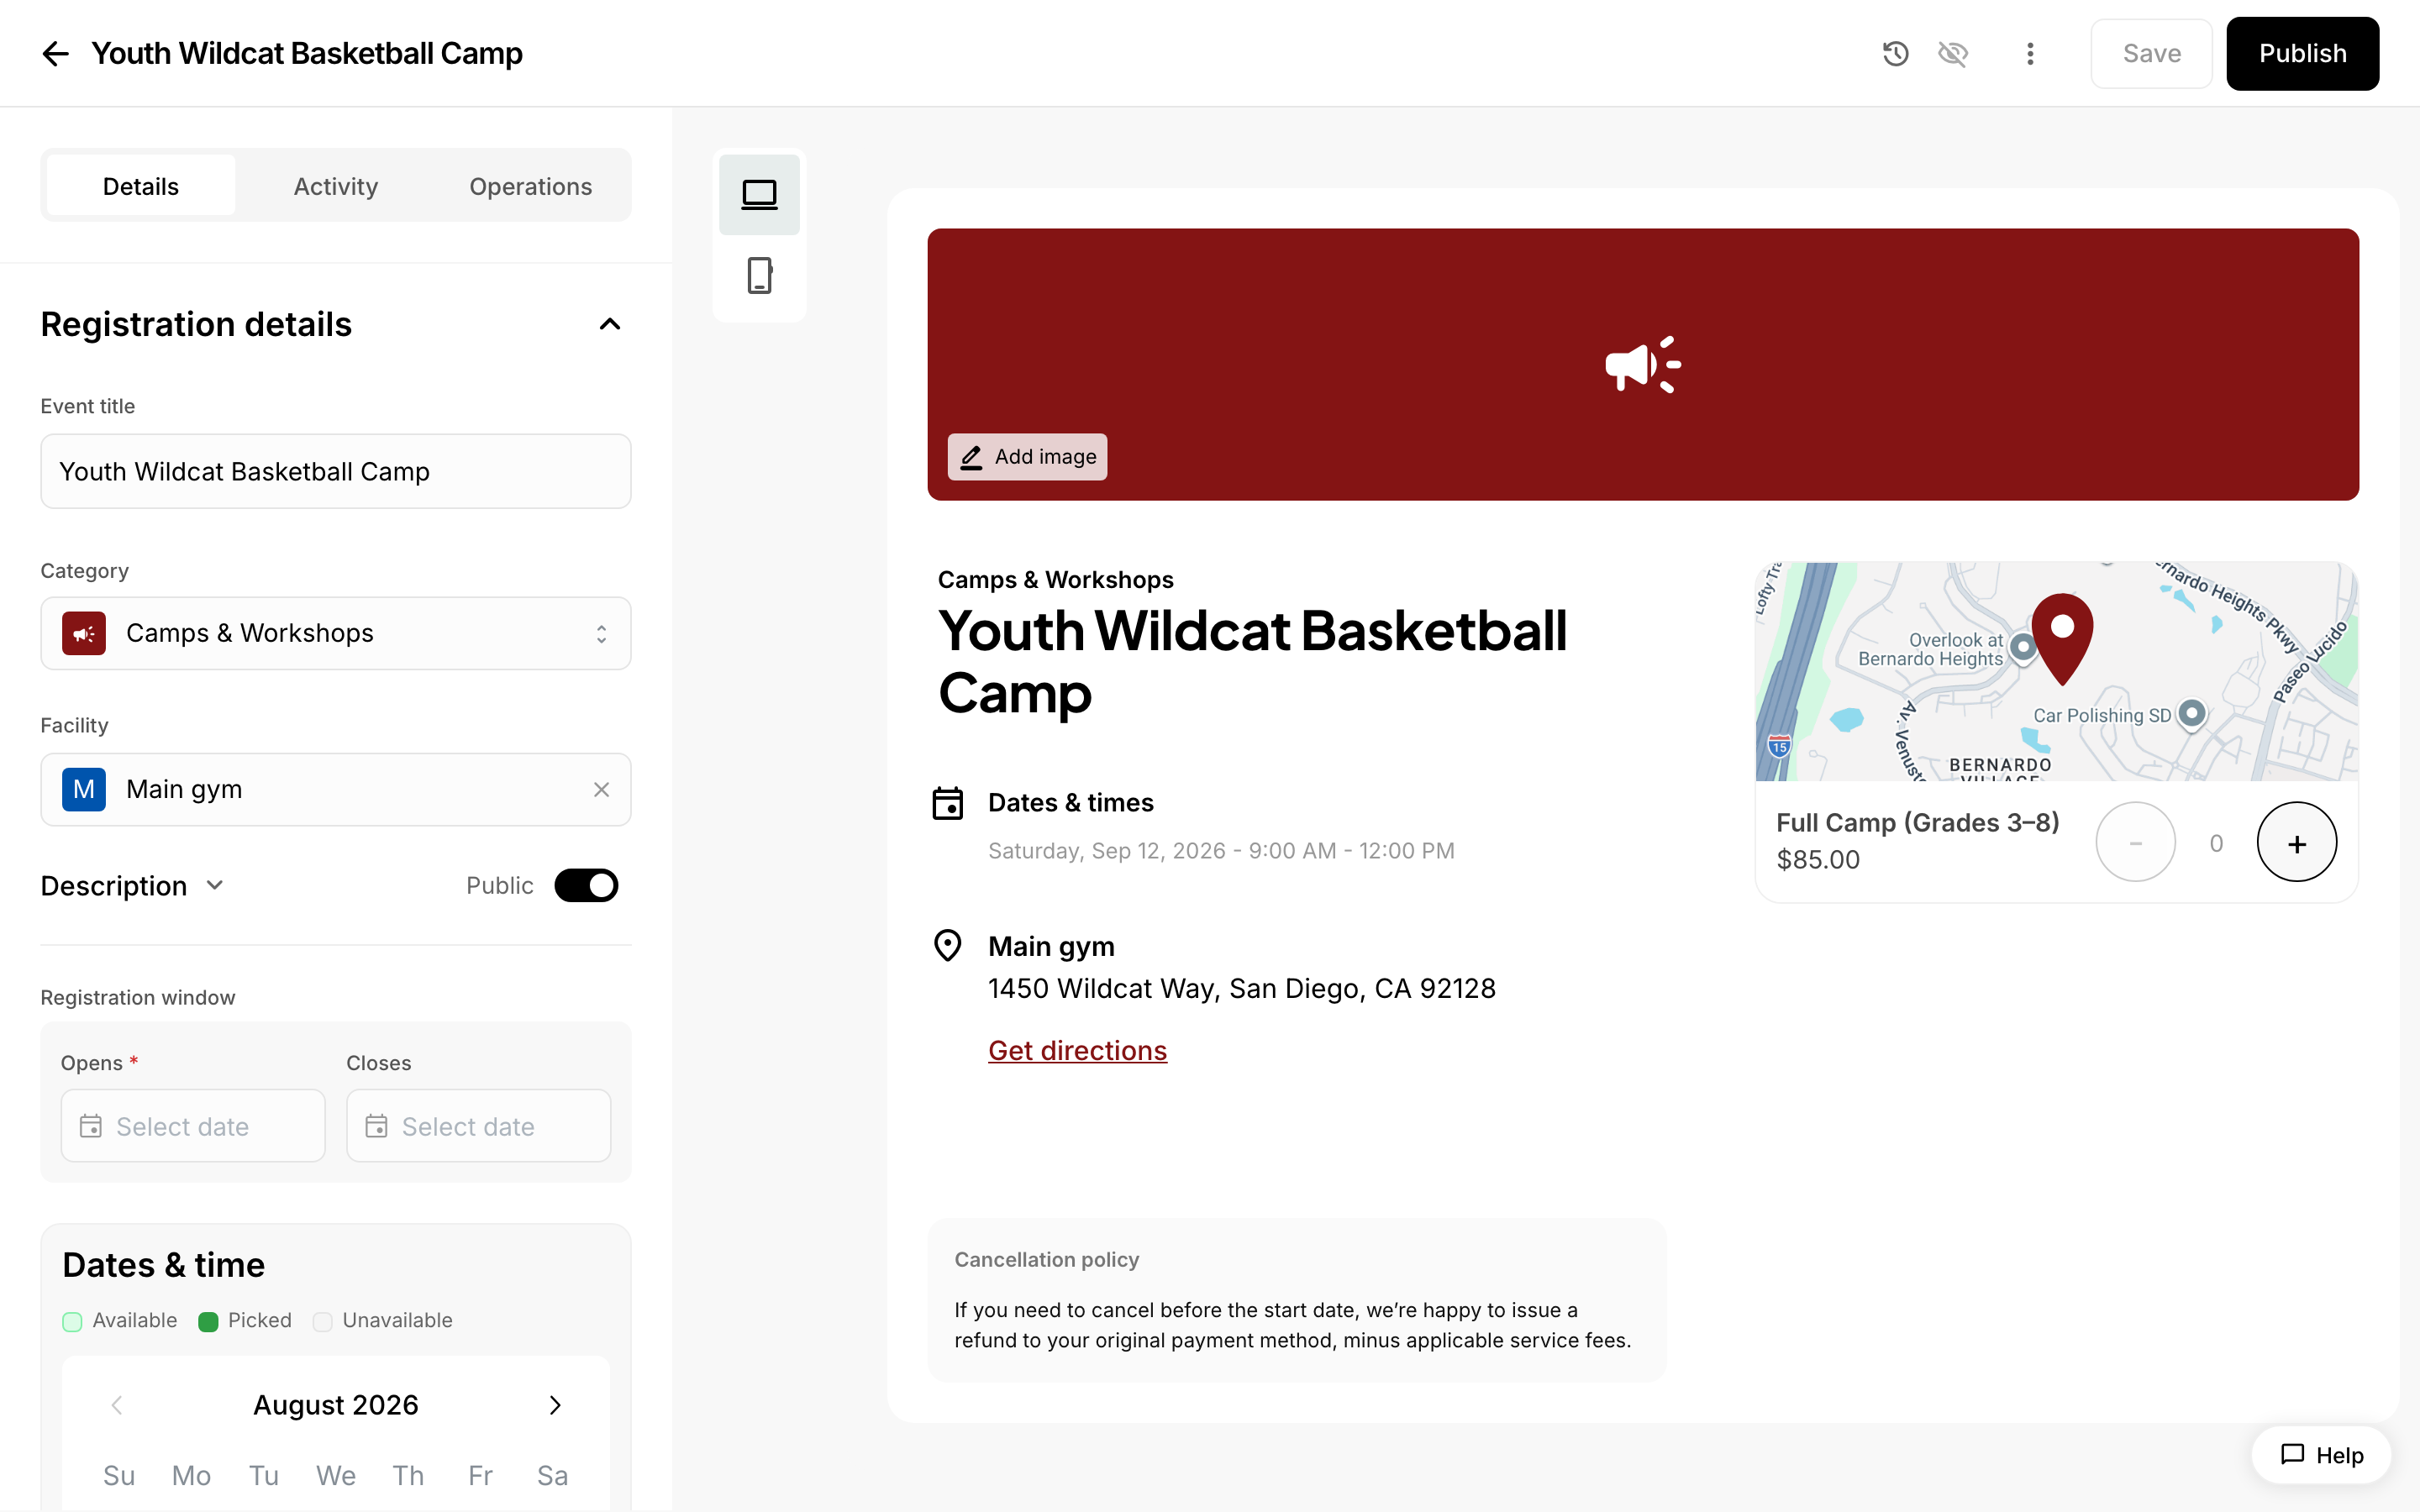 Adding an intake form to a registration.
If you need more from people than their name and payment — t-shirt sizes, dietary needs, an emergency contact, a signed waiver — you can attach an intake form to the registration. An intake form is a set of questions registrants answer while they sign up. After following this article you will have one form attached to your registration, you will know which kinds of questions you can ask, and you will be able to read or download every answer that comes in.
You attach one form per registration. You can build it from scratch, or upload a paper form you already use and let Admittee turn it into questions for you.
Adding a form to a registration
- Open your dashboard and go to the registration you want to collect information for.
- Open the registration's Form tab.
- Choose how to start: Upload an existing form to bring in a form you already have, or Create new to build one question at a time.
- If you chose Upload an existing form, drop in your file and wait for it to be read. You will see the title, questions and answer choices appear as editable fields.
- Add a section to group related questions. Every field lives inside a section.
- Inside the section, add a field for each question, pick its type, and type the question's label.
- Turn on required for any field a registrant must answer.
- Repeat for as many sections and fields as you need.
What happens when you upload a form you already use?
Admittee reads the file and writes the form for you. It pulls out the form's title, any subtitle or description, each question, the answer choices for questions that have a list, and which questions are required (it looks for an asterisk or the word "required"). It groups related questions into the same section, and it matches each question to the closest field type available.
A few things to know before you rely on it:
- Accepted files are PNG, JPG, WEBP, GIF, and PDF.
- Waiver or agreement language with a checkbox comes in as a Consent field, with the legal wording as the field's text.
- Most forms come in as one section that is asked once per order. If the paper form clearly repeats for each participant, it comes in set to ask once per registration instead.
- The import does not create File upload fields. Add those yourself afterwards.
Everything the import produces is editable, so read it through and fix anything it misread before you publish.
Field types
Each field type asks for a different kind of answer:
- Name, Text input (one line) and Long text input (a paragraph)
- Checkbox (pick as many as apply) and Multiple choice (pick one)
- Dropdown (pick one from a list)
- Phone, Email, Address and Date
- Consent — your agreement or waiver text with an "I agree" checkbox
- Signature — registrants sign with a finger or mouse, or by typing their name
- File upload — registrants attach a document or image
- Additional information — text or instructions you want them to read; there is nothing to fill in
For Checkbox, Multiple choice and Dropdown you type the list of options yourself. Any field can be marked required.
Depending on your account, you may also have a field that asks for a person the buyer has saved to their account, such as a grandparent who can pick a child up. If a buyer has not saved that person yet, they can add them from inside the question and select them without leaving the form. We could not confirm from the material available whether this field is turned on for every account — check your Form tab to see whether it is offered to you.
Sections and how often each one is asked
Every section has a collection frequency, which decides how many times registrants see it:
- Collect once — asked one time for the whole order, no matter how many people are being signed up.
- Collect per registration — asked separately for every spot in the order, so a parent signing up two children answers it twice.
- Collect per [type] — asked only for one registration type. A registration type is one of the options you sell on the registration, such as "Returning player" or "New player".
Use Collect once for things that belong to the buyer, like a billing question or a household phone number. Use Collect per registration for anything that differs by participant, like a jersey size or a medical note.
What if someone signs up several participants at once?
Each Collect per registration section repeats, once per spot in the order, and the participant's name appears above their copy of the section so the buyer can tell them apart. Answers are stored against that participant, not lumped together.
Collect once sections still appear only one time in that same order.
What registrants see at checkout
The form appears before they finish signing up. Required fields must be answered before the Continue button becomes available. Phone numbers and email addresses are checked as they are typed, dates use a calendar picker, signatures can be drawn or typed, and files they have attached show in a list they can remove from.
Will returning registrants have to type the same answers again?
Not always. For registrations, a registrant's earlier answers for your organization can be filled in for them, with a note showing when they last answered so they know how old the information is. Some questions still ask them to confirm the answer rather than accepting it silently.
Saved answers never cross between organizations — answers given to your school are only ever offered back on your school's forms.
Can you see the form the way registrants will?
Yes. Preview the form from the Form tab while you build it. In preview you see one copy of each section, even sections set to Collect per registration, because there is no real order yet to repeat them against. To see the repeating behavior, look at the section's frequency setting rather than the preview.
Reviewing and exporting responses
- Open the registration's stats table.
- Look for the Form icon on a row. Any registrant who submitted a form has one.
- Click the Form icon to read that registrant's full set of answers.
- To see answers side by side with everything else, open the columns drawer (the gear icon) and turn on the custom field columns. They are hidden until you turn them on.
- To take the answers out of Admittee, choose Export. You get a CSV with one column per form field.