
Tips for Event Day Setup
Prepare a smooth gate ahead of time: install the app, share the staff link, confirm connectivity, connect your card reader, and run a test scan.
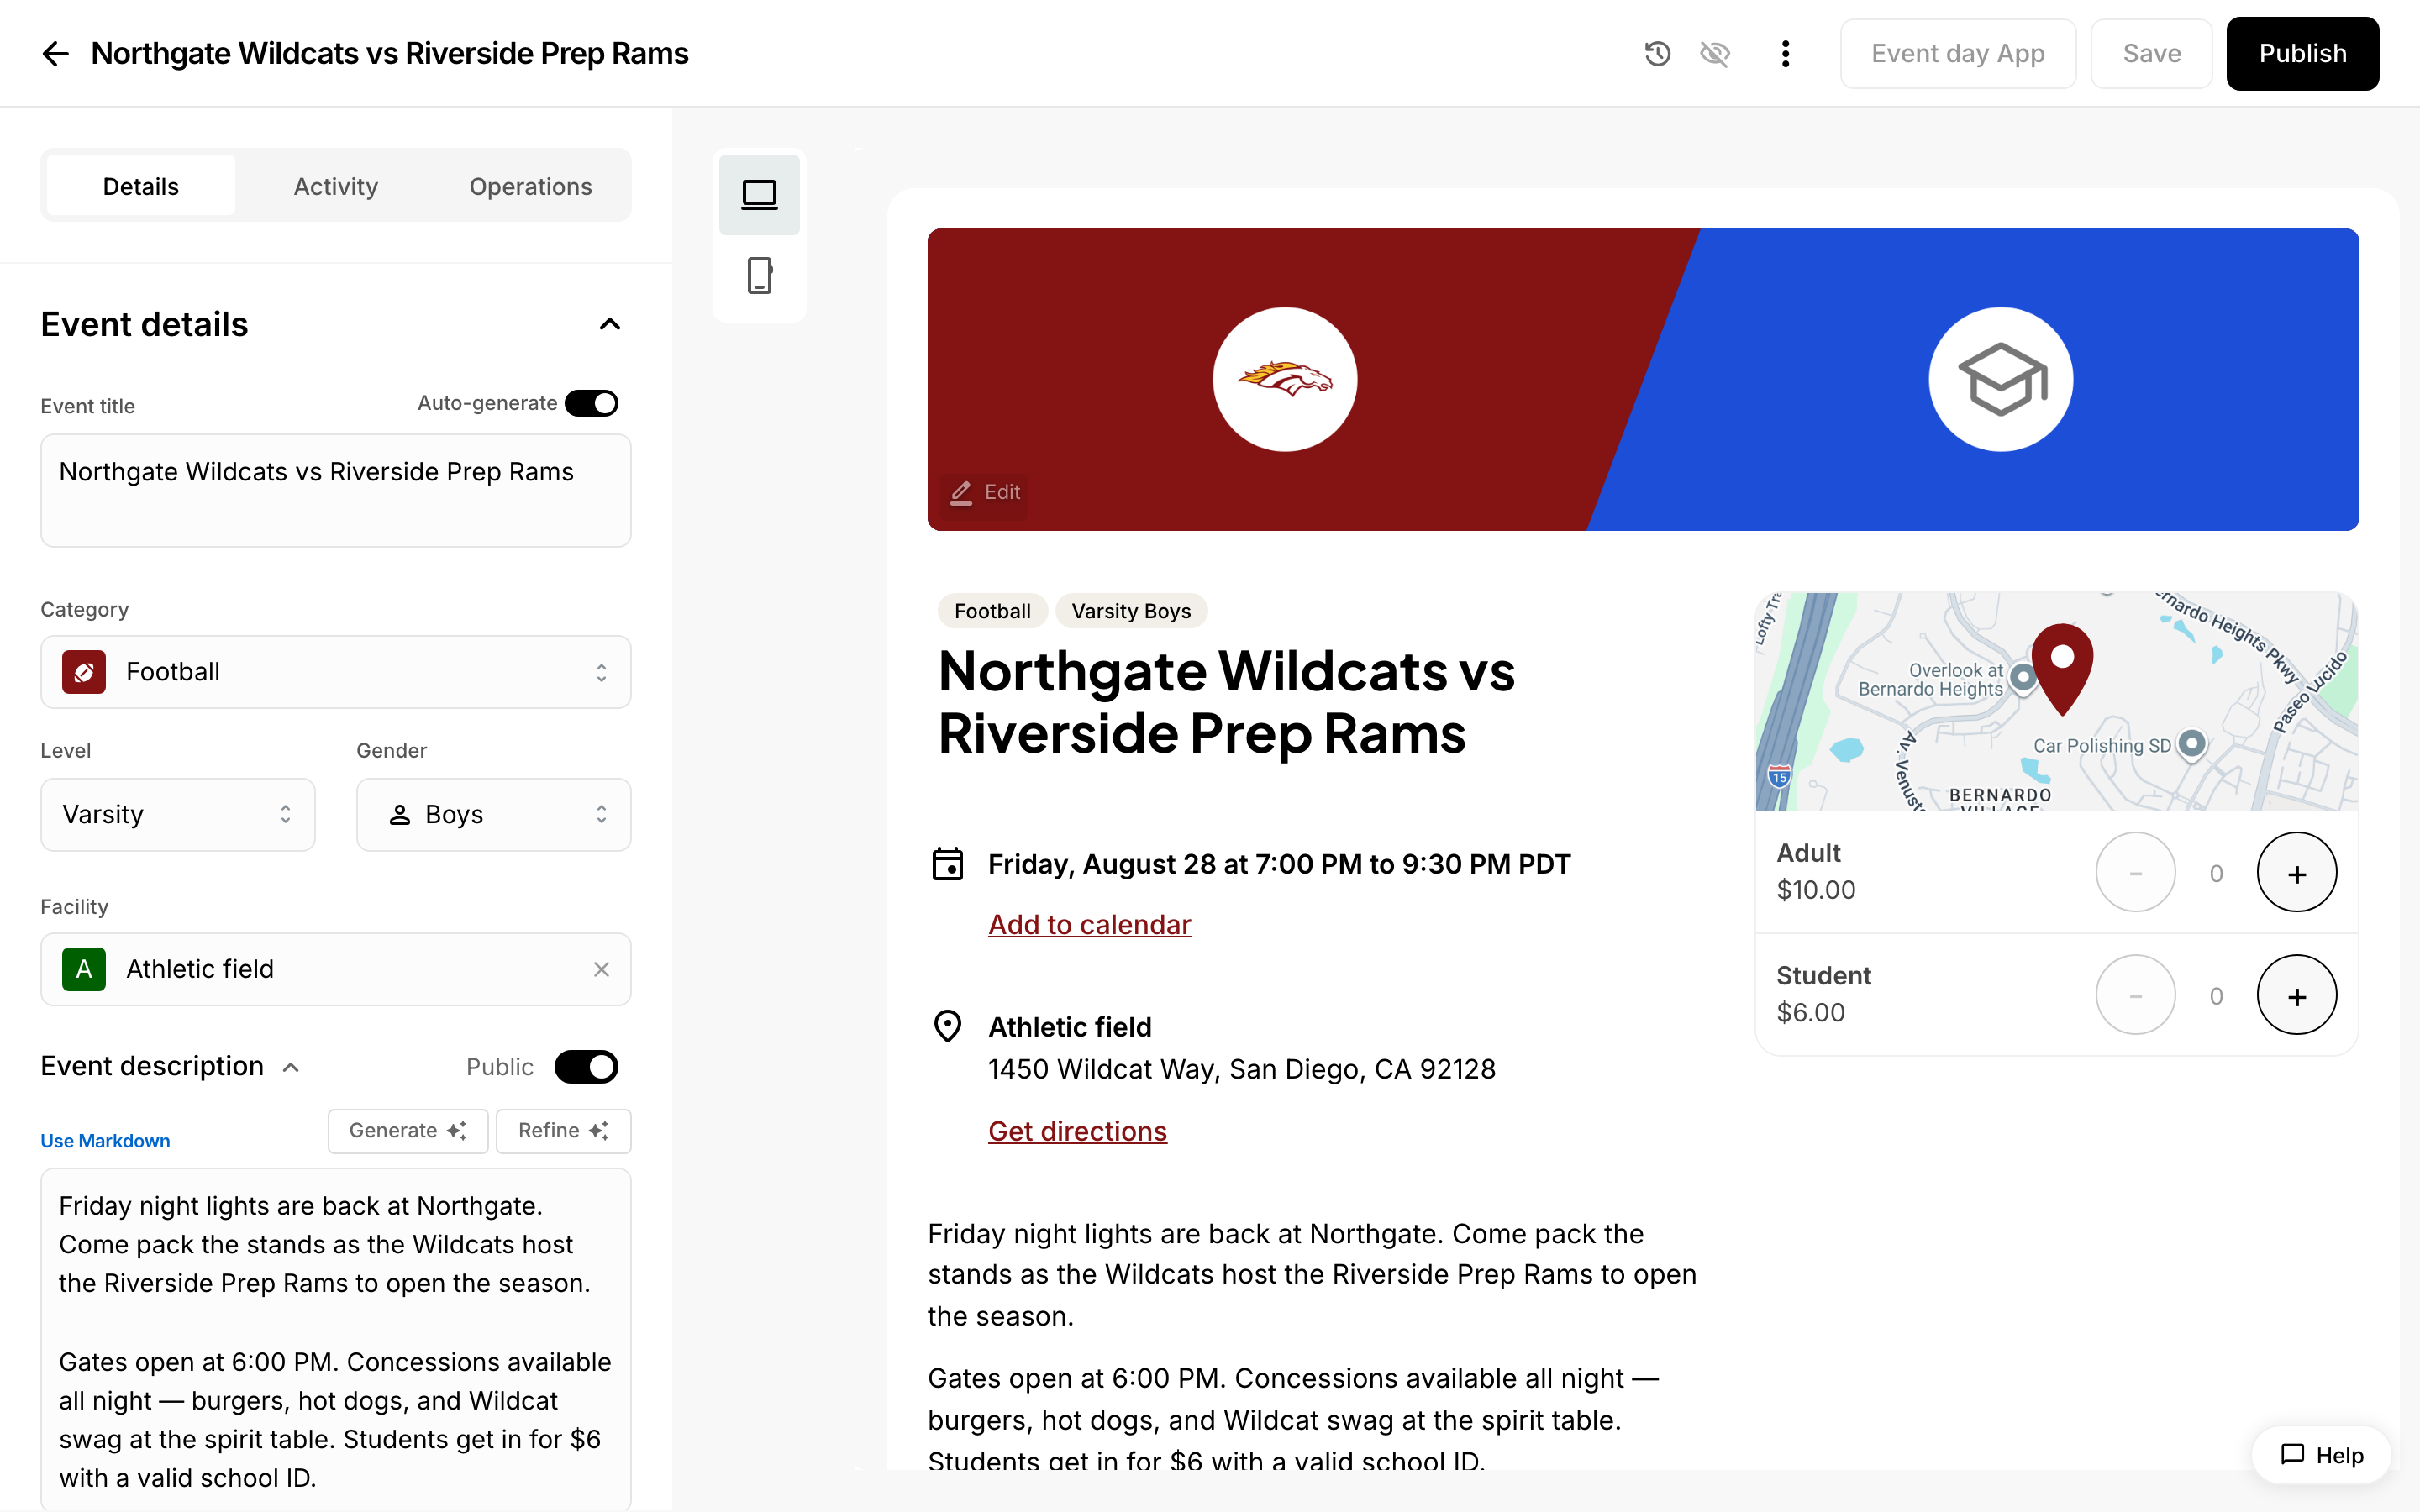 Review your event details before the gate opens.
Tips for Event Day Setup
The smoothest gates are set up before doors open: install and sign into the EventDay App ahead of time, share the staff access link with your workers, confirm every device has internet, connect your card reader or turn on Tap to Pay, and run one test scan. Doing this in advance means no scrambling when the first attendees arrive.
Install the app and sign in early
Have every device ready before event day, not at the gate:
- Install the EventDay App on each phone or tablet from the App Store or Google Play.
- Sign in with an Admittee account, or use the event's staff access link so workers can join without their own accounts.
- Open the event you are staffing so each device is pointed at the right event.
Share the staff access link with gate workers
Volunteers do not need their own logins. From the event page in your dashboard, select Event day App to open the Scan & collect window, then use Copy EventDay link (staff) to send workers the access link, or share the QR (quick response) code so they can scan it to launch the app. Send this out ahead of time so staff arrive ready to go. Share the link only with your gate team, since anyone who has it can scan and take payments for that event.
Confirm internet and connectivity
Scanning and payments both need a live connection, so the app can verify each ticket and process each charge in real time.
- Make sure your gate area has reliable Wi-Fi or cellular signal.
- Test the connection on the actual devices in the spot where you will work, not just at the front office.
Connect your card reader or Tap to Pay
If you are collecting payments for tickets or concessions, set up the payment hardware before the rush:
- In the app's settings, discover and connect your card reader.
- If your device supports Tap to Pay, you can accept contactless cards and phone wallets using the device itself, with no separate reader. (Tap to Pay lets the phone or tablet read the payment directly.) An account administrator may first need to accept the Tap to Pay terms, and the device must meet the app's requirements, so confirm this ahead of time.
- Once connected, the app shows the reader as ready.
Run a test scan before doors open
Practice with your staff so everyone knows the flow before the first attendee arrives. The event page includes a ticket demo you can use to try a scan without spending a real ticket, so each worker can see what a valid scan looks like and get comfortable with the app.
Know how to look up a ticket if a scan fails
Scans occasionally fail, for example if a phone screen is too dim or a code will not read. Have a backup plan:
- Ask the attendee for the name or email on the order, then look them up in the event's ticket list in your dashboard, which is searchable.
- If a scan is rejected, the app shows a message explaining why. See the guide on scanning tickets at the gate for what each message means and how to correct a mistaken scan.