
Connecting Stripe to Accept Payments
Connect your organization to Stripe so you can take card payments and get deposits in your bank account, even if you already use Stripe.
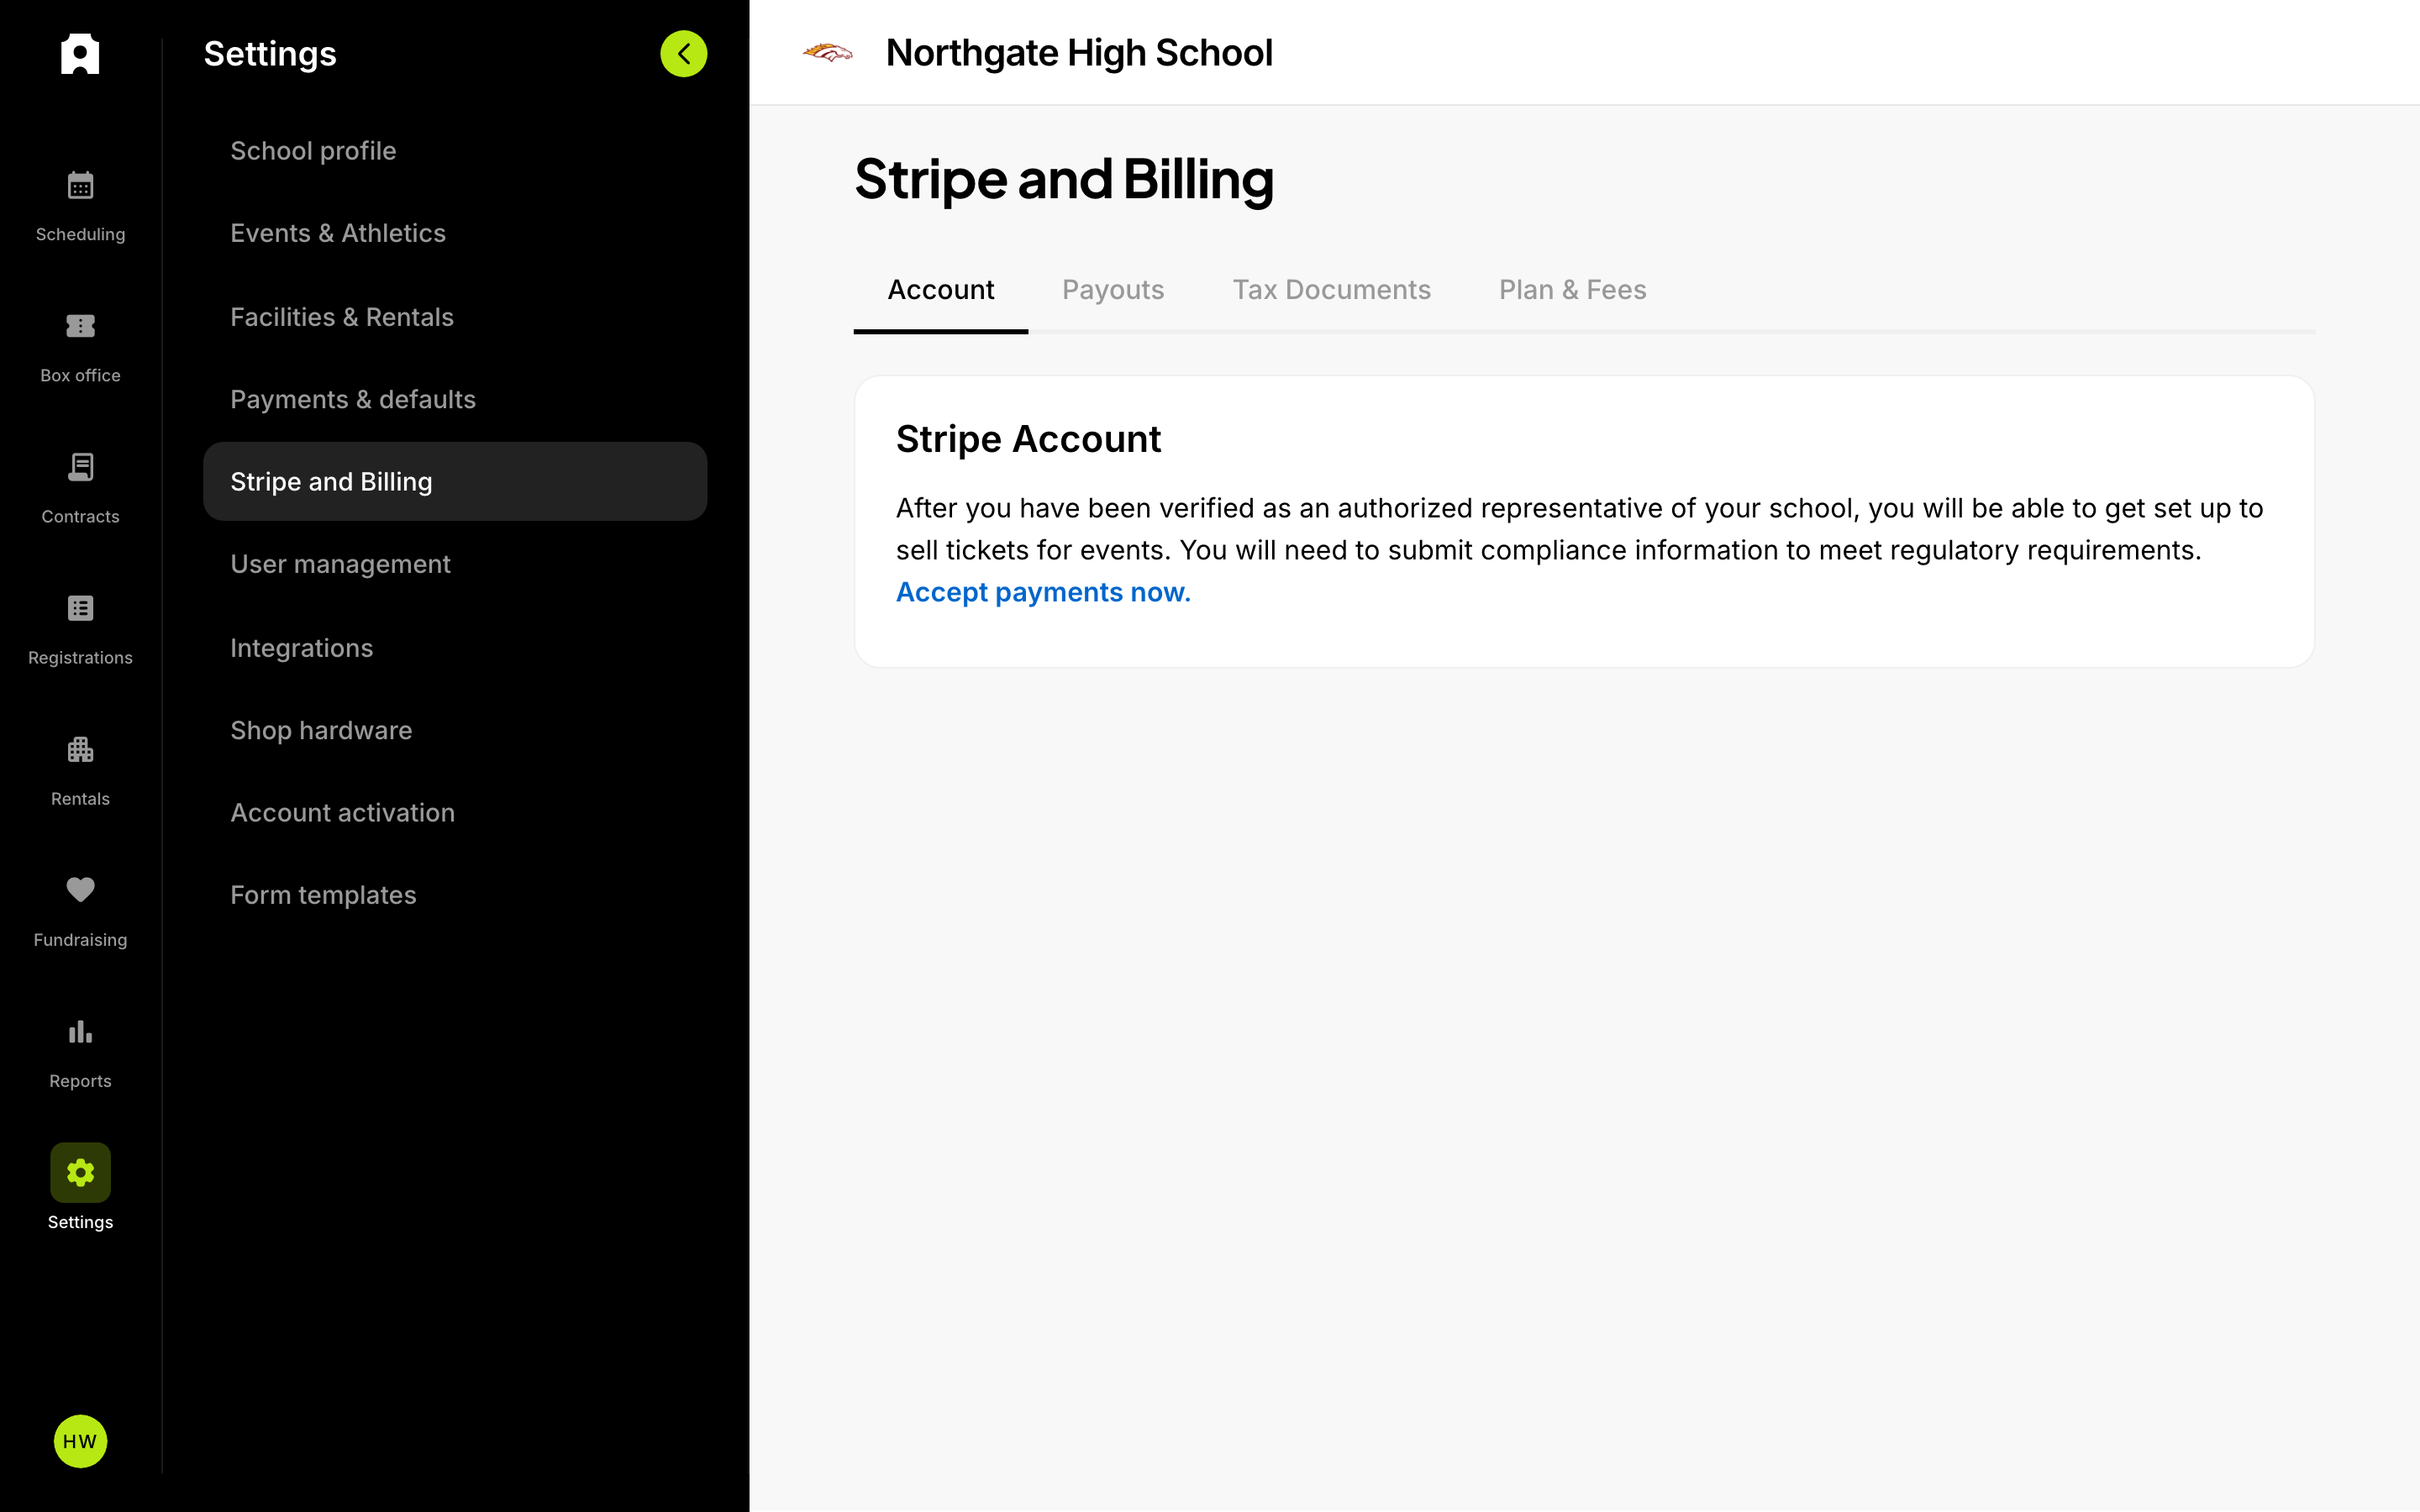 Connect Stripe under Settings → Stripe and Billing to accept payments.
Connecting Stripe to Accept Payments
This article walks you through setting up your organization to collect money in Admittee. That covers tickets, passes, registrations, rentals, concessions, contract payments and donations. The money is deposited into your own bank account. Stripe is the payments company Admittee uses to process card payments and send you those deposits. You only set it up once. It turns on online sales and card payments at the gate, so do it before you publish anything you plan to charge for.
You don't need to create a Stripe account first. You don't need to copy any keys or account numbers between systems either. The whole form opens inside Admittee.
Before you start
- You need Admin or Owner access. Admins and Owners can complete every step of Account activation. If you don't see that tab under Settings, ask an Admin on your team to do this, or ask them to change your role.
- Have your details ready. Stripe asks for three things:
- your organization's business information
- information about you as the authorized representative, meaning the person allowed to act for the organization
- the bank account where deposits should go
- Pick the right person. The person filling in the form should be able to speak for the organization and know the bank details. This is usually a business manager, bookkeeper or athletic director.
Connect Stripe
Everything happens on one page: Settings, then Account activation. The page is a checklist. Each step unlocks once the step before it is done, and a finished step collapses.
-
Open Settings, then Account activation.
-
Open the Verify your email step and send yourself a code.
-
Enter the 6-digit code from the email. Once it's accepted, the step collapses and shows a Verified badge.
-
Open the next step and check the three fields:
- Name. This is filled in from your account. Change it if someone else is the authorized representative.
- Title or position, for example Athletic Director.
- Contact email. This is also filled in from your account. Change it if someone else is the representative.
All three fields are required, and the email must be a valid address.
-
Submit the step for approval. Admittee reviews every organization and will follow up at the email address you entered.
-
Open the Accept payments step. You don't have to wait for approval. This step unlocks as soon as you submit the step above, so you can set up payments while your review is in progress.
-
Click Connect Stripe. The Stripe form appears on the page.
-
Fill in the Stripe form. It asks about your organization, about you as the representative, and for your deposit bank account. It shows what Stripe needs now and what it will need soon. You can leave and come back later, and Stripe keeps what you've already entered.
-
Wait for Stripe to confirm your account. The step is marked complete only when Stripe says your account is ready to take payments and send deposits.
-
Complete the last step so you can publish events and start selling. This step turns on once Admittee has approved your organization and Stripe has confirmed your account.
Why does the Accept payments step stay open after I finished the form?
Leaving the Stripe form doesn't mean Stripe has approved your account. Admittee marks the step complete only when Stripe confirms you can actually take payments and receive deposits.
This is on purpose. Stripe often asks for more information after you submit, and it sometimes declines an account. If the checklist said you were done in those cases, you'd only find out when a buyer's card was declined.
If the step is still open, Stripe is waiting on something. Reopen the step to see any notices from Stripe about what's missing. You can also find these notices on the Stripe Account page under Settings, then Stripe and Billing. Common causes:
- A required document hasn't been uploaded yet, such as an ID for the representative or proof of the bank account.
- The bank account or routing number was mistyped.
- Stripe still needs to confirm the representative's identity before it sends deposits.
Stripe can take a while to verify an account, even after you've submitted everything. If every field is filled in and the step still won't complete, contact us and we'll look at it with you.
What if the verification code doesn't arrive, or doesn't work?
The step shows a 30-second countdown before you can send another code. If you enter the wrong code, the field clears so you can try again. After too many wrong attempts, the step stops accepting that code. Send a new code and enter that one instead.
Before you resend, check your spam folder. Also make sure the email address on your user account is one you can actually check.
What if our organization already has a Stripe account?
You can still use Admittee. When you click Connect Stripe, Admittee sets up a payments account just for Admittee. Two things to know:
- Your existing Stripe account isn't merged into Admittee. Your past Stripe payments, customers and balance stay where they are.
- Admittee sales won't appear in a Stripe dashboard you already use. Track them in Admittee instead, under Stripe and Billing and Reports.
We couldn't confirm whether Stripe's form will offer to reuse details from your existing Stripe account. That is decided inside Stripe's form and can vary by account. If you aren't offered that option, fill in the form from scratch. Nothing is lost; it just takes a few more minutes.
What if our organization has never used Stripe?
You don't need to do anything extra. Fill in the form and your account is created as you go. You won't have a separate Stripe login to manage afterward. You'll manage everything from inside Admittee.
Where do we see our deposits?
Go to Settings, then Stripe and Billing. Deposits are listed newest first, 25 at a time. Each one shows:
- the date it arrived
- the amount
- the last four digits of the bank account it went to
- how many transactions it covers
Open a deposit to see its statement. The statement groups your sales by category and then by item type. It shows fees, refunds and any Stripe adjustments, and the total matches the exact amount deposited in your bank.
- A deposit that is still on its way to your bank shows only its summary until it arrives.
- If a deposit fails or is canceled, its transactions go back to pending, and a later deposit picks them up. The failed deposit stays in the list so you can see what happened.
What else should I set up after connecting?
- Manage your account details: go to Settings, then Stripe and Billing, then Stripe Account. This is where you update business information and bank details and read notices from Stripe. Until you finish setting up payments, this page shows an Accept payments now link that takes you back to the activation checklist.
- Decide who covers processing fees: go to Settings, then Payments & defaults.
- Buy a card reader: go to Settings, then Shop hardware.
Who can reach each of these?
Admins and Owners can open all of them.
A user with the Finance role can open Stripe and Billing and Shop hardware, so they can read deposits and statements. They can't open Payments & defaults, so they can't change fee settings.
On some accounts, a Finance user can also open Account activation to finish the Accept payments step. This helps when your business office holds the bank details. The email verification and approval steps are always for Admins and Owners only.
Do we have to connect Stripe to use Admittee?
No. You can schedule facilities, build your calendar and run free events without it. You only need Stripe once you want to collect money.
Can someone else finish the form?
Yes, if they have access to the Accept payments step and can act as an authorized representative. Stripe keeps everything that's already been entered, so they can pick up where the last person left off.
Related
For deposits, tax documents and revenue reports, see Managing Finances & Payouts. For the fee schedule, see Admittee Pricing & Fees. To change who has Admin access, see User Roles & Permissions.