
User Roles & Permissions
Assign each teammate one of four roles, then invite, edit, remove, or transfer ownership to control who can access your account.
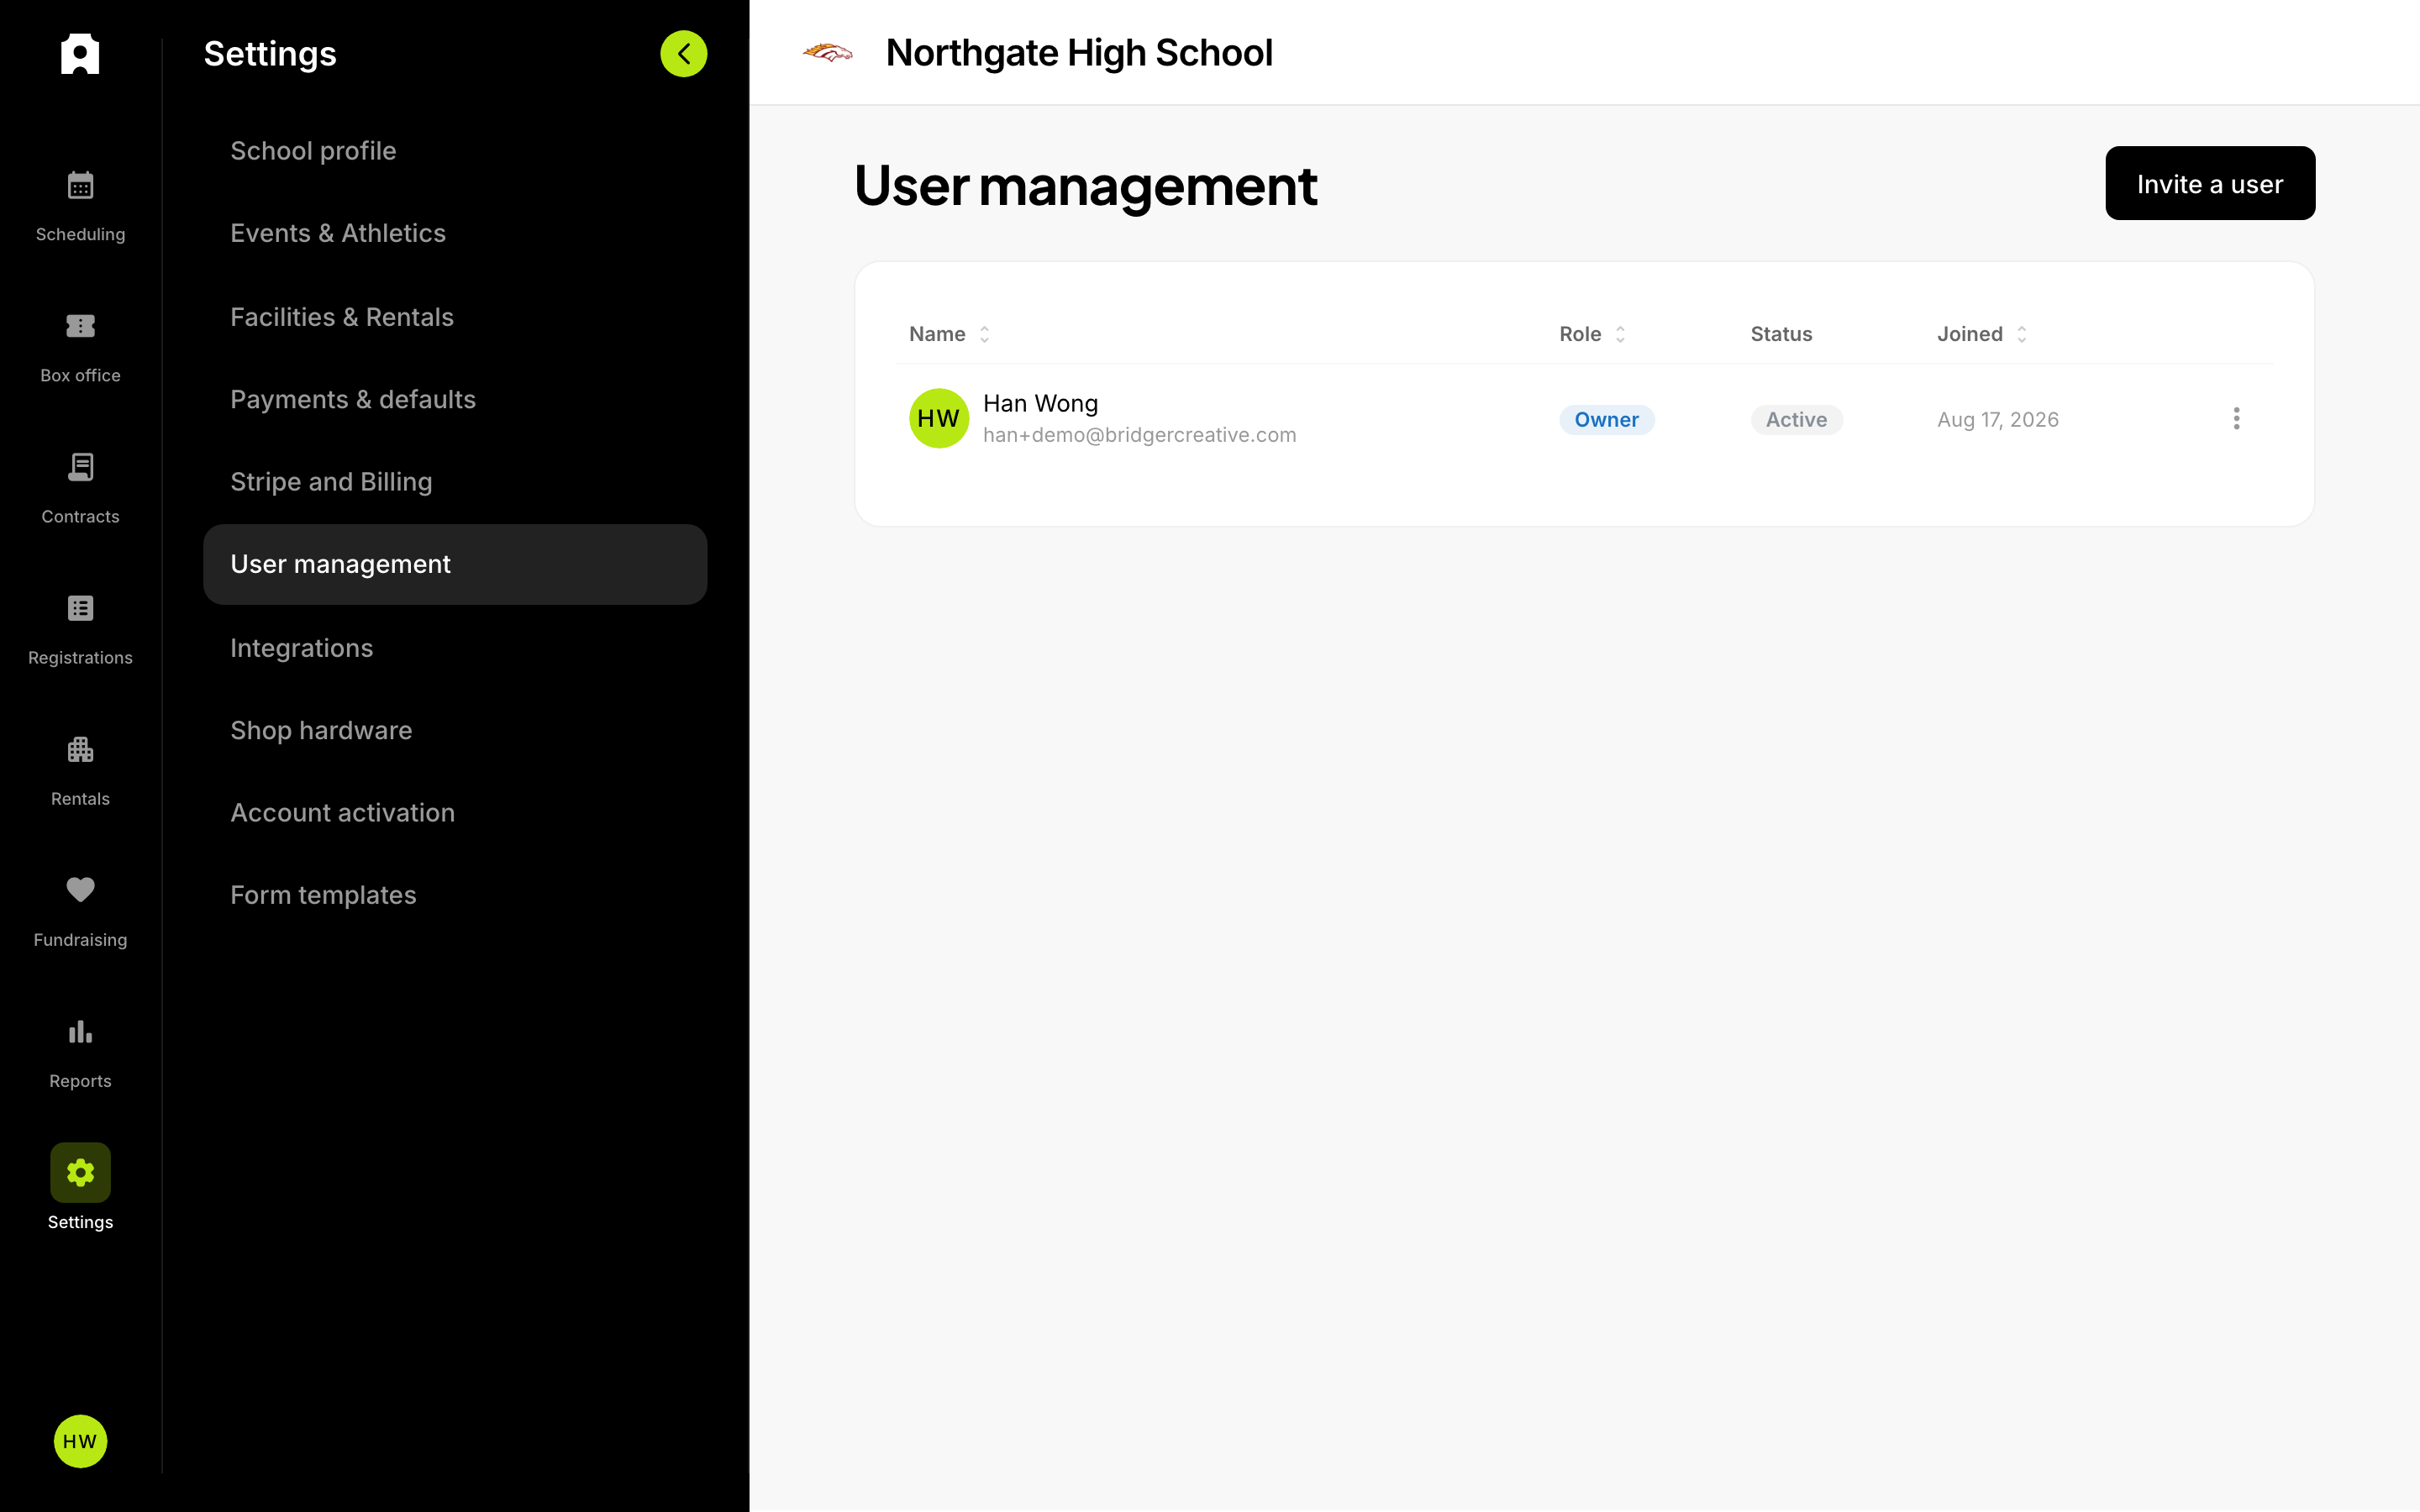 Team members and roles in Settings.
User Roles & Permissions
Control who on your team can access which features and manage your institution's data.
Available Roles
When you invite someone to your account, you assign them one of four roles:
| Role | What they can do |
|---|---|
| Administrator | Full access to everything in Admittee. |
| Manager | Manages day-to-day operations. Can create, approve, and publish events, and issue refunds. |
| Collaborator | Helps plan and run events. Can create and update events assigned to them. |
| Viewer | View-only access to calendars, events, and reports, with full visibility. |
The account Owner has full access and is the only person who can transfer ownership to another user.
Inviting a Team Member
Only users with user management permissions can invite new team members and assign roles.
- Go to your account settings and open the Team section.
- Select Invite a user.
- Enter the person's email address.
- Select a role.
- Optionally add a message.
- Select Send invite.
The invited person receives an email with a link to join your institution's account. Their status appears as Pending until they accept.
Note: Admittee checks the email format before sending. If the address is already invited, you'll see an error.
Editing a Team Member's Role
You must have user management permissions to edit roles. You cannot edit the Owner's role.
- In the Team section, find the team member.
- Open their action menu (⋮).
- Select Edit roles.
- Choose the new role and select Save.
Managing Pending Invitations
For invitations that haven't been accepted yet, the action menu (⋮) offers two options:
- Resend invite — sends the invitation email again.
- Cancel invite — removes the pending invitation.
Removing a Team Member
Only users with admin permissions can remove team members. You cannot remove the Owner.
- In the Team section, find the team member.
- Open their action menu (⋮).
- Select Remove user and confirm.
Removing a user permanently deletes their account record for your institution.
Transferring Ownership
Only the current Owner can transfer ownership, and only when at least one other team member exists on the account.
- In the Team section, open your own action menu (⋮).
- Select Transfer ownership and follow the prompts.
Notification Preferences
Each team member can configure which notifications they receive. Admittee uses each person's own notification settings to decide who gets alerts about activity such as pass purchases, donations, financial transactions, and other institution updates.